 Profiles
Profiles are pre-set configurations that you create to manage how your images are processed and organized after they are offloaded from your camera to your computer. A profile must be selected before a card can be offloaded. ProCapture Backup comes preloaded with a number of commonly used profiles to choose from.
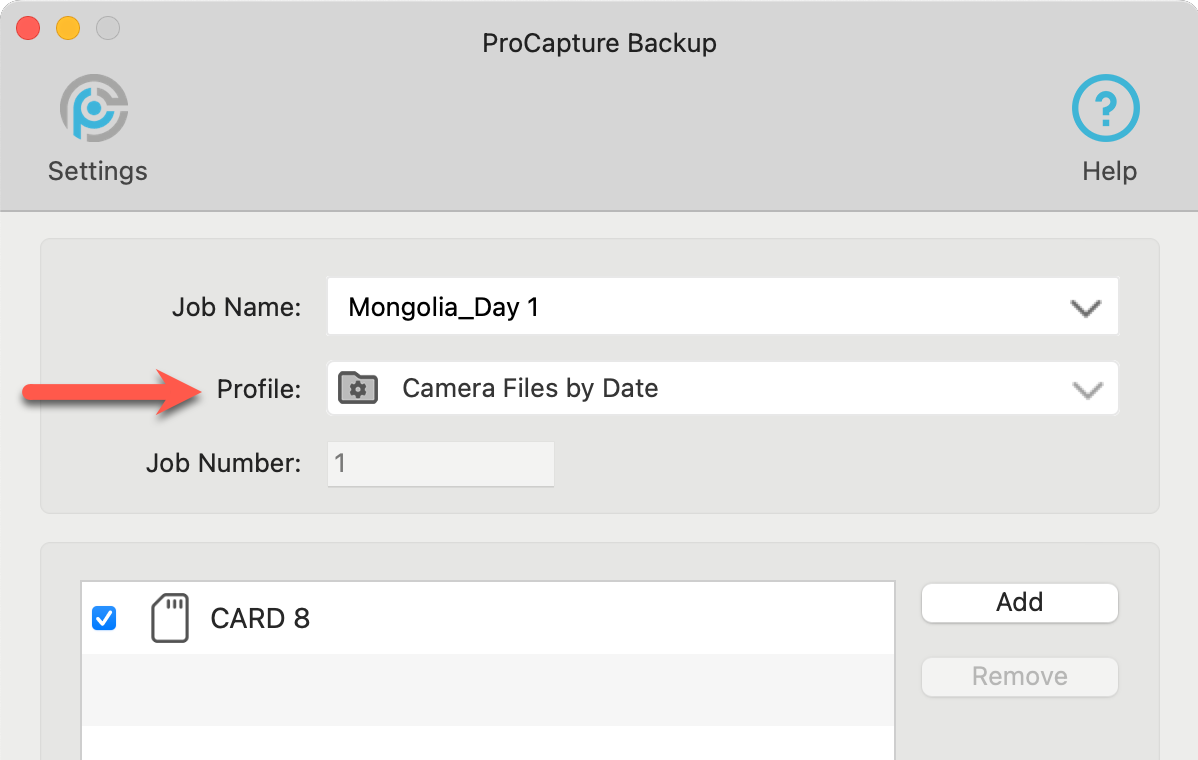
Profiles are built by combining Categories, Job Structures, and Completion Tasks. You can use one profile for all your offloads, or choose a different profile based on the job type.
- Option 1: Customize your profiles by editing the preloaded profiles.
- Option 2: Create your own profiles from scratch.
- Because profiles are built by combining Categories, Job Structures, and Completion Tasks, it is worth understanding what those elements are before creating a profile from scratch.
- Create a personal profile and store images in a Family Photo Archive category for personal use.
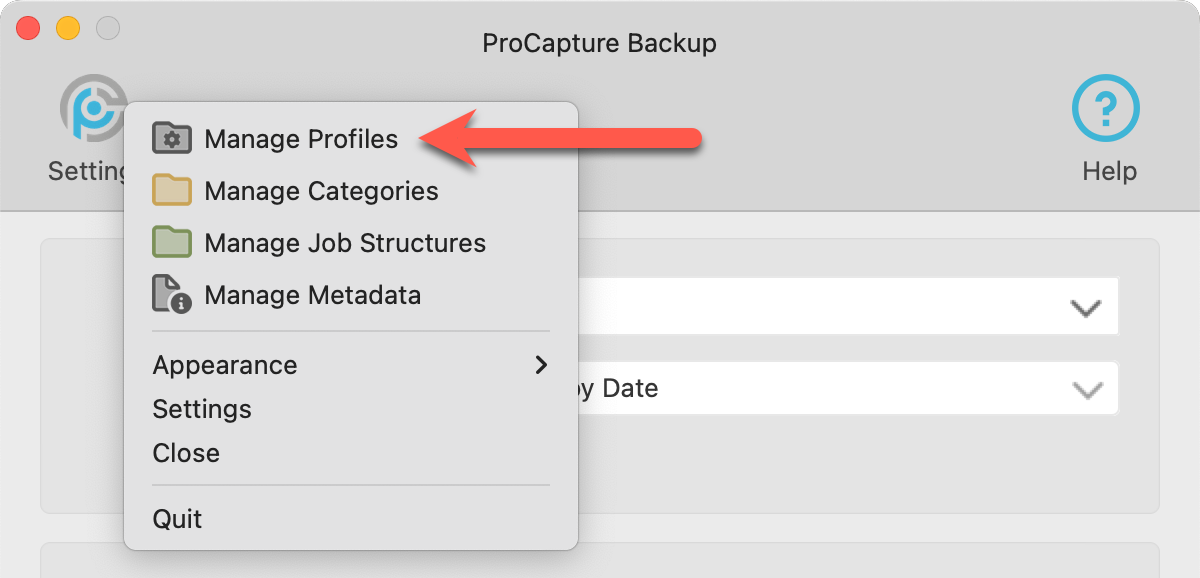
- Click on the Settings button
 .
. - Select "Manage Profiles" from the list.
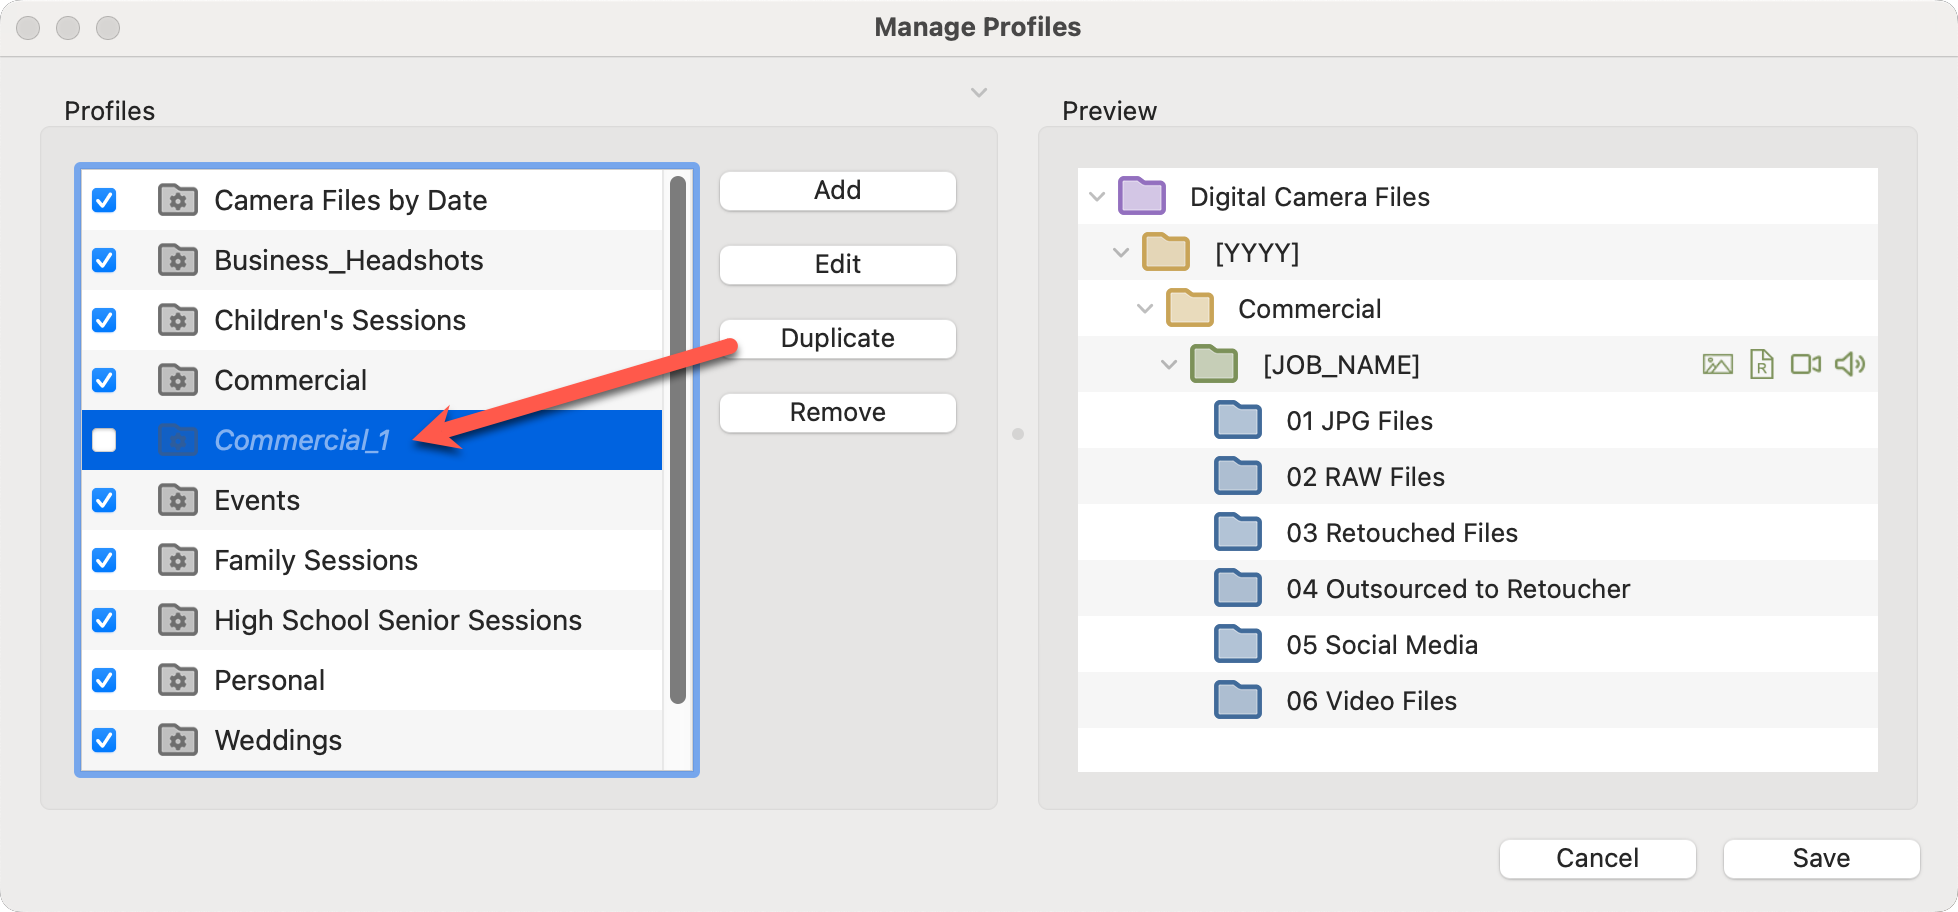
- The Manage Profiles window is structured so that a list of the profiles appears on the left. Once a profile is selected, a preview of the folder structure appears on the right.
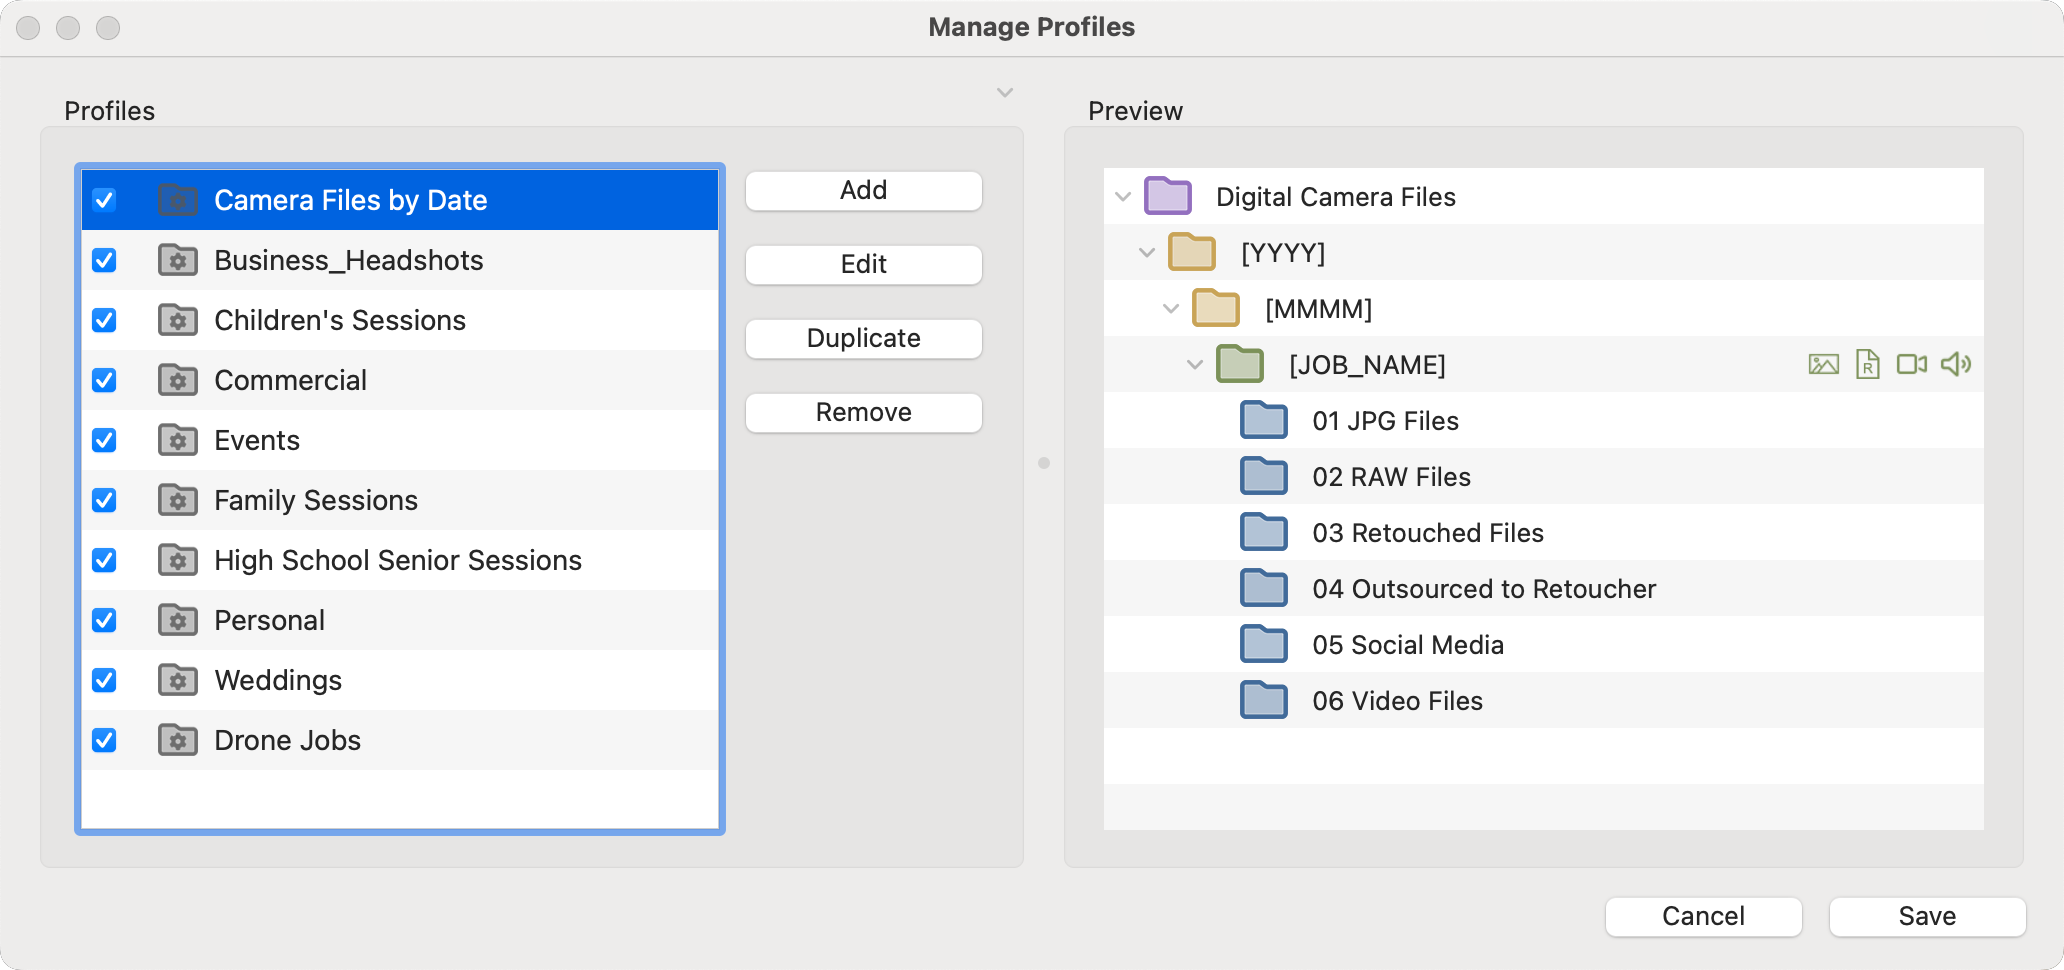
- Hide the preview area on the right by clicking the gray arrow next to "Preview."
 Use the checkboxes in the Category list to enable/disable a category for use.
- Click and drag a profile to change its position in the list. The profile at the top of the list becomes the default profile for every new job.
- Click on the Add button to create a new profile.
- From this window, you can edit, duplicate, or remove an existing profile.
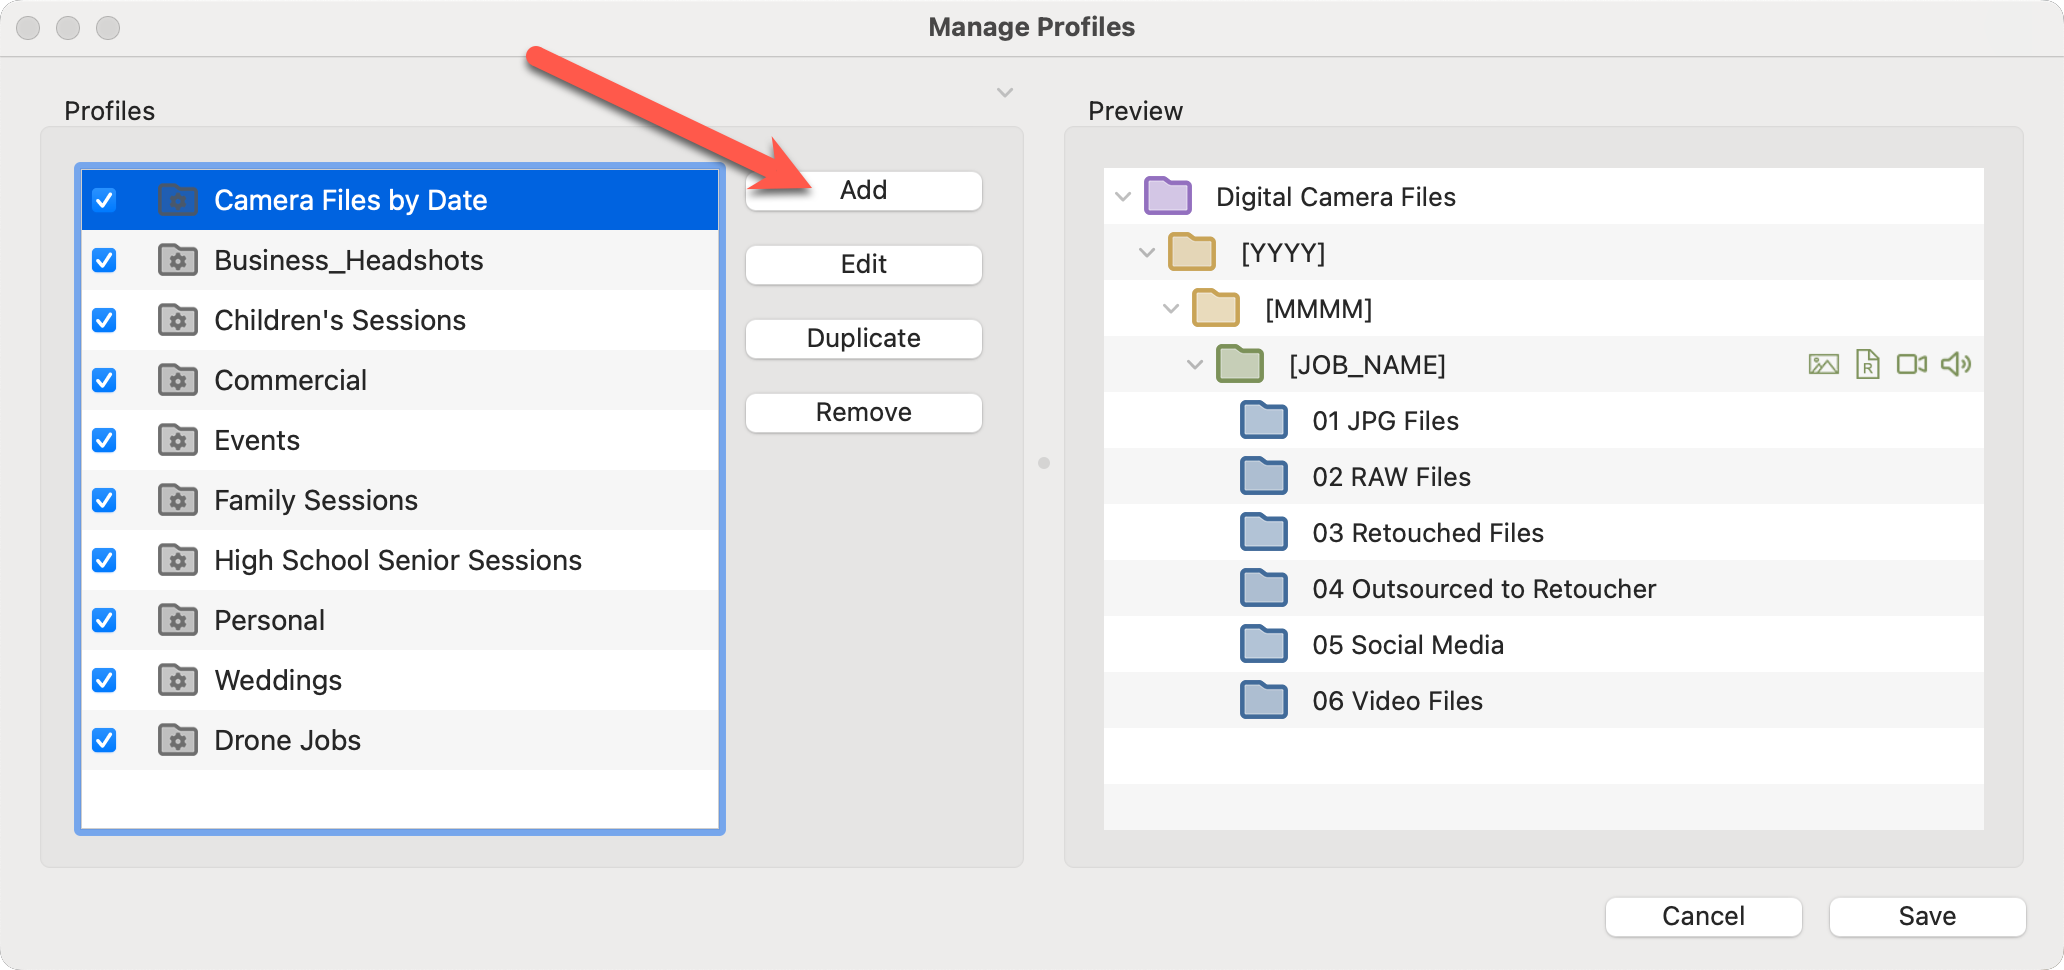
From the Manage Profiles window, click on the Add button.
A profile is created by combining a Category (optional), Job Structure (required), and Completion Tasks (optional).
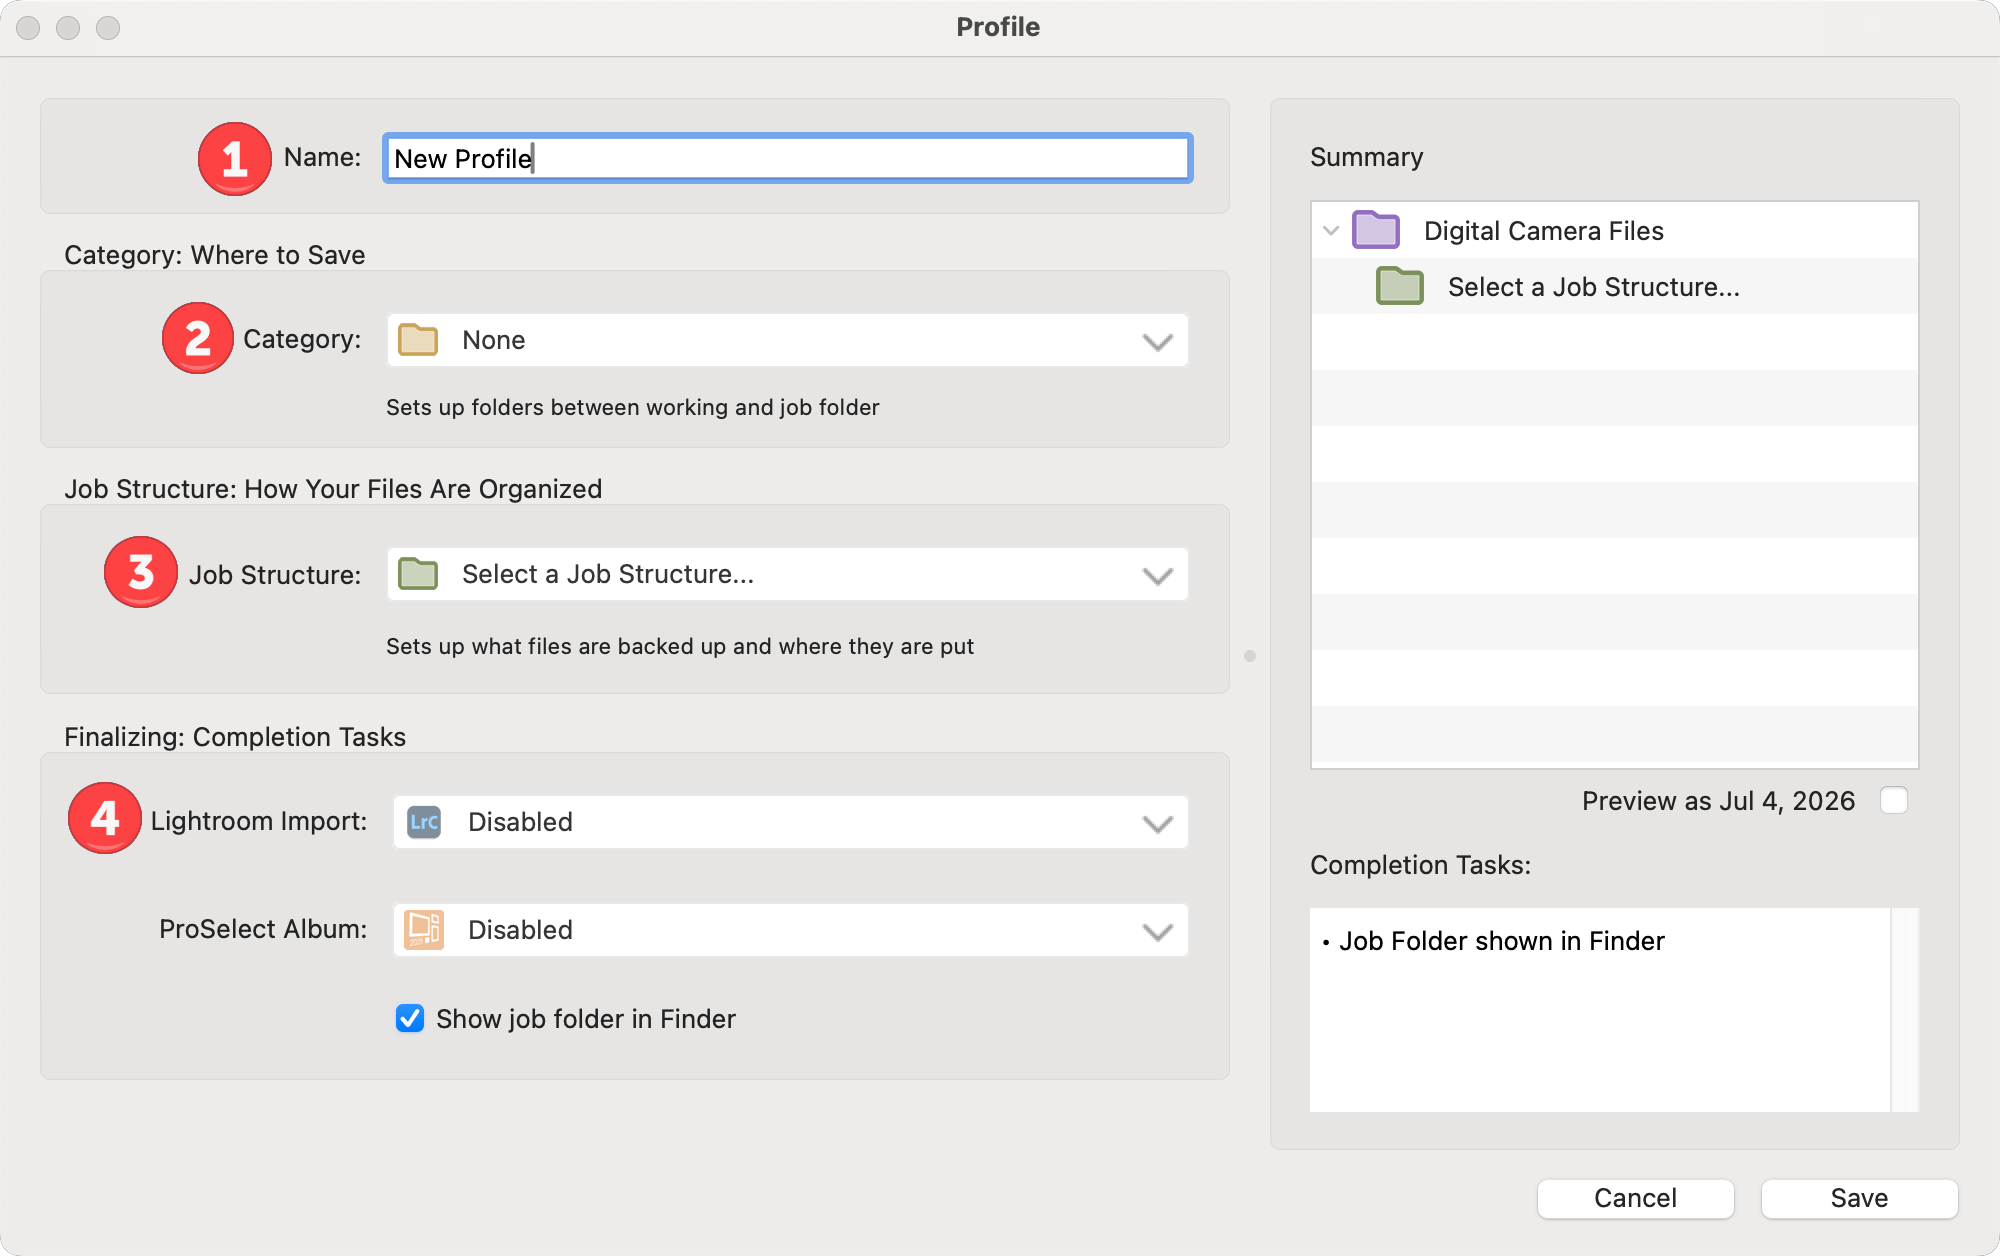
- Type in a name for your profile
- Optionally select a Category. If the category you want to use isn't listed, select "Create New Category" from the list.
- Select a Job Structure. If the job structure you want to use isn't listed, select "Create New Job Structure" from the list.
- Select your completion tasks (optional).
- As you build your profile, the Summary and Completion Tasks on the right update to show the options you’ve selected. When you’re finished, click Save.
Instead of creating a new profile from scratch, you can edit or duplicate an existing profile. This is a quick way to build a profile that’s already close to what you need.
Duplicating a profile allows you to retain the same base settings—such as folder locations, job structure, and renaming options—while making a few minor adjustments to tailor it for a specific job type. It’s faster, more consistent, and helps prevent setup mistakes compared to starting from a blank profile.
- Select the profile you want in the Manage Profiles window.
- Click on the Edit button, or duplicate the profile first, and then click the Edit button.
- Rename your profile.
- Customize the profile. See Add a new Profile for details.
- Save.
For some Users, a single profile is all that's required. However, you can create multiple profiles within the software. This is useful if you handle different types of photography projects that require different handling. For example:
- Wedding Photography Profile: You might have a profile for wedding shoots where images need to be sorted into a folder using the job name. You may also choose to renumber the offloaded images.
- Commercial Photography Profile: For commercial shoots, your profile might organize images into folders based on the date. Renumbering may not be necessary.
- Drone Profile: For drone footage, you may want your video and audio in a separate folder.