Gallery Wraps
There are two different ways to create gallery wraps. You can use templates from the template resource area, or convert prints into gallery wraps. After you create a gallery wrap, you can select an edge treatment.
Training Video
Option 1: Convert a Print into a Gallery Wrap
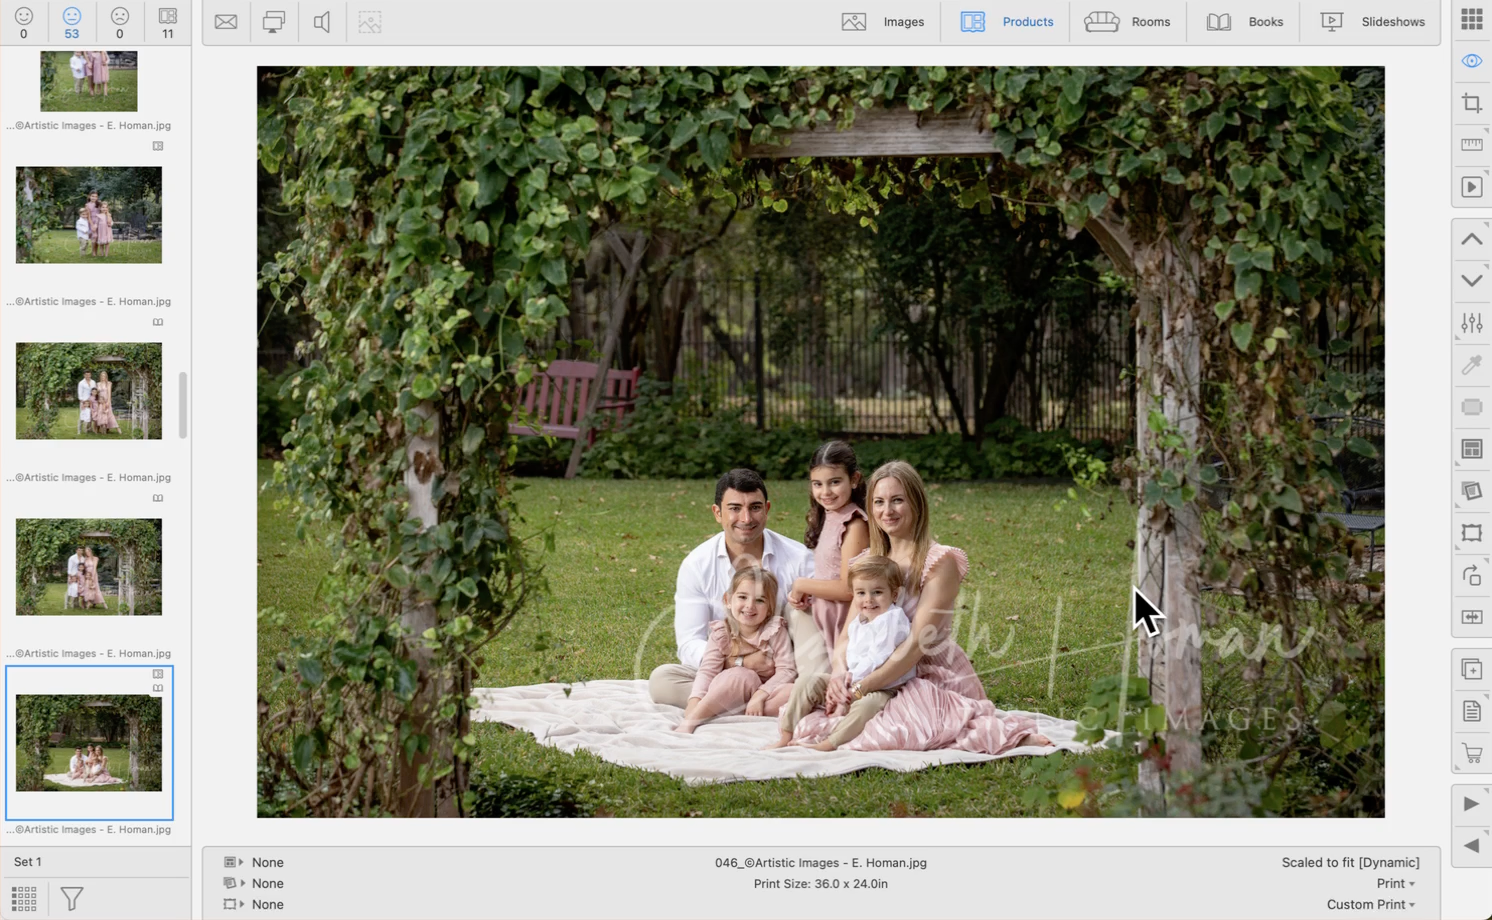
- Select and view your print in Show view.
- Click the drop-down arrow next to the Product Type (Print) on the Info Bar (right column).
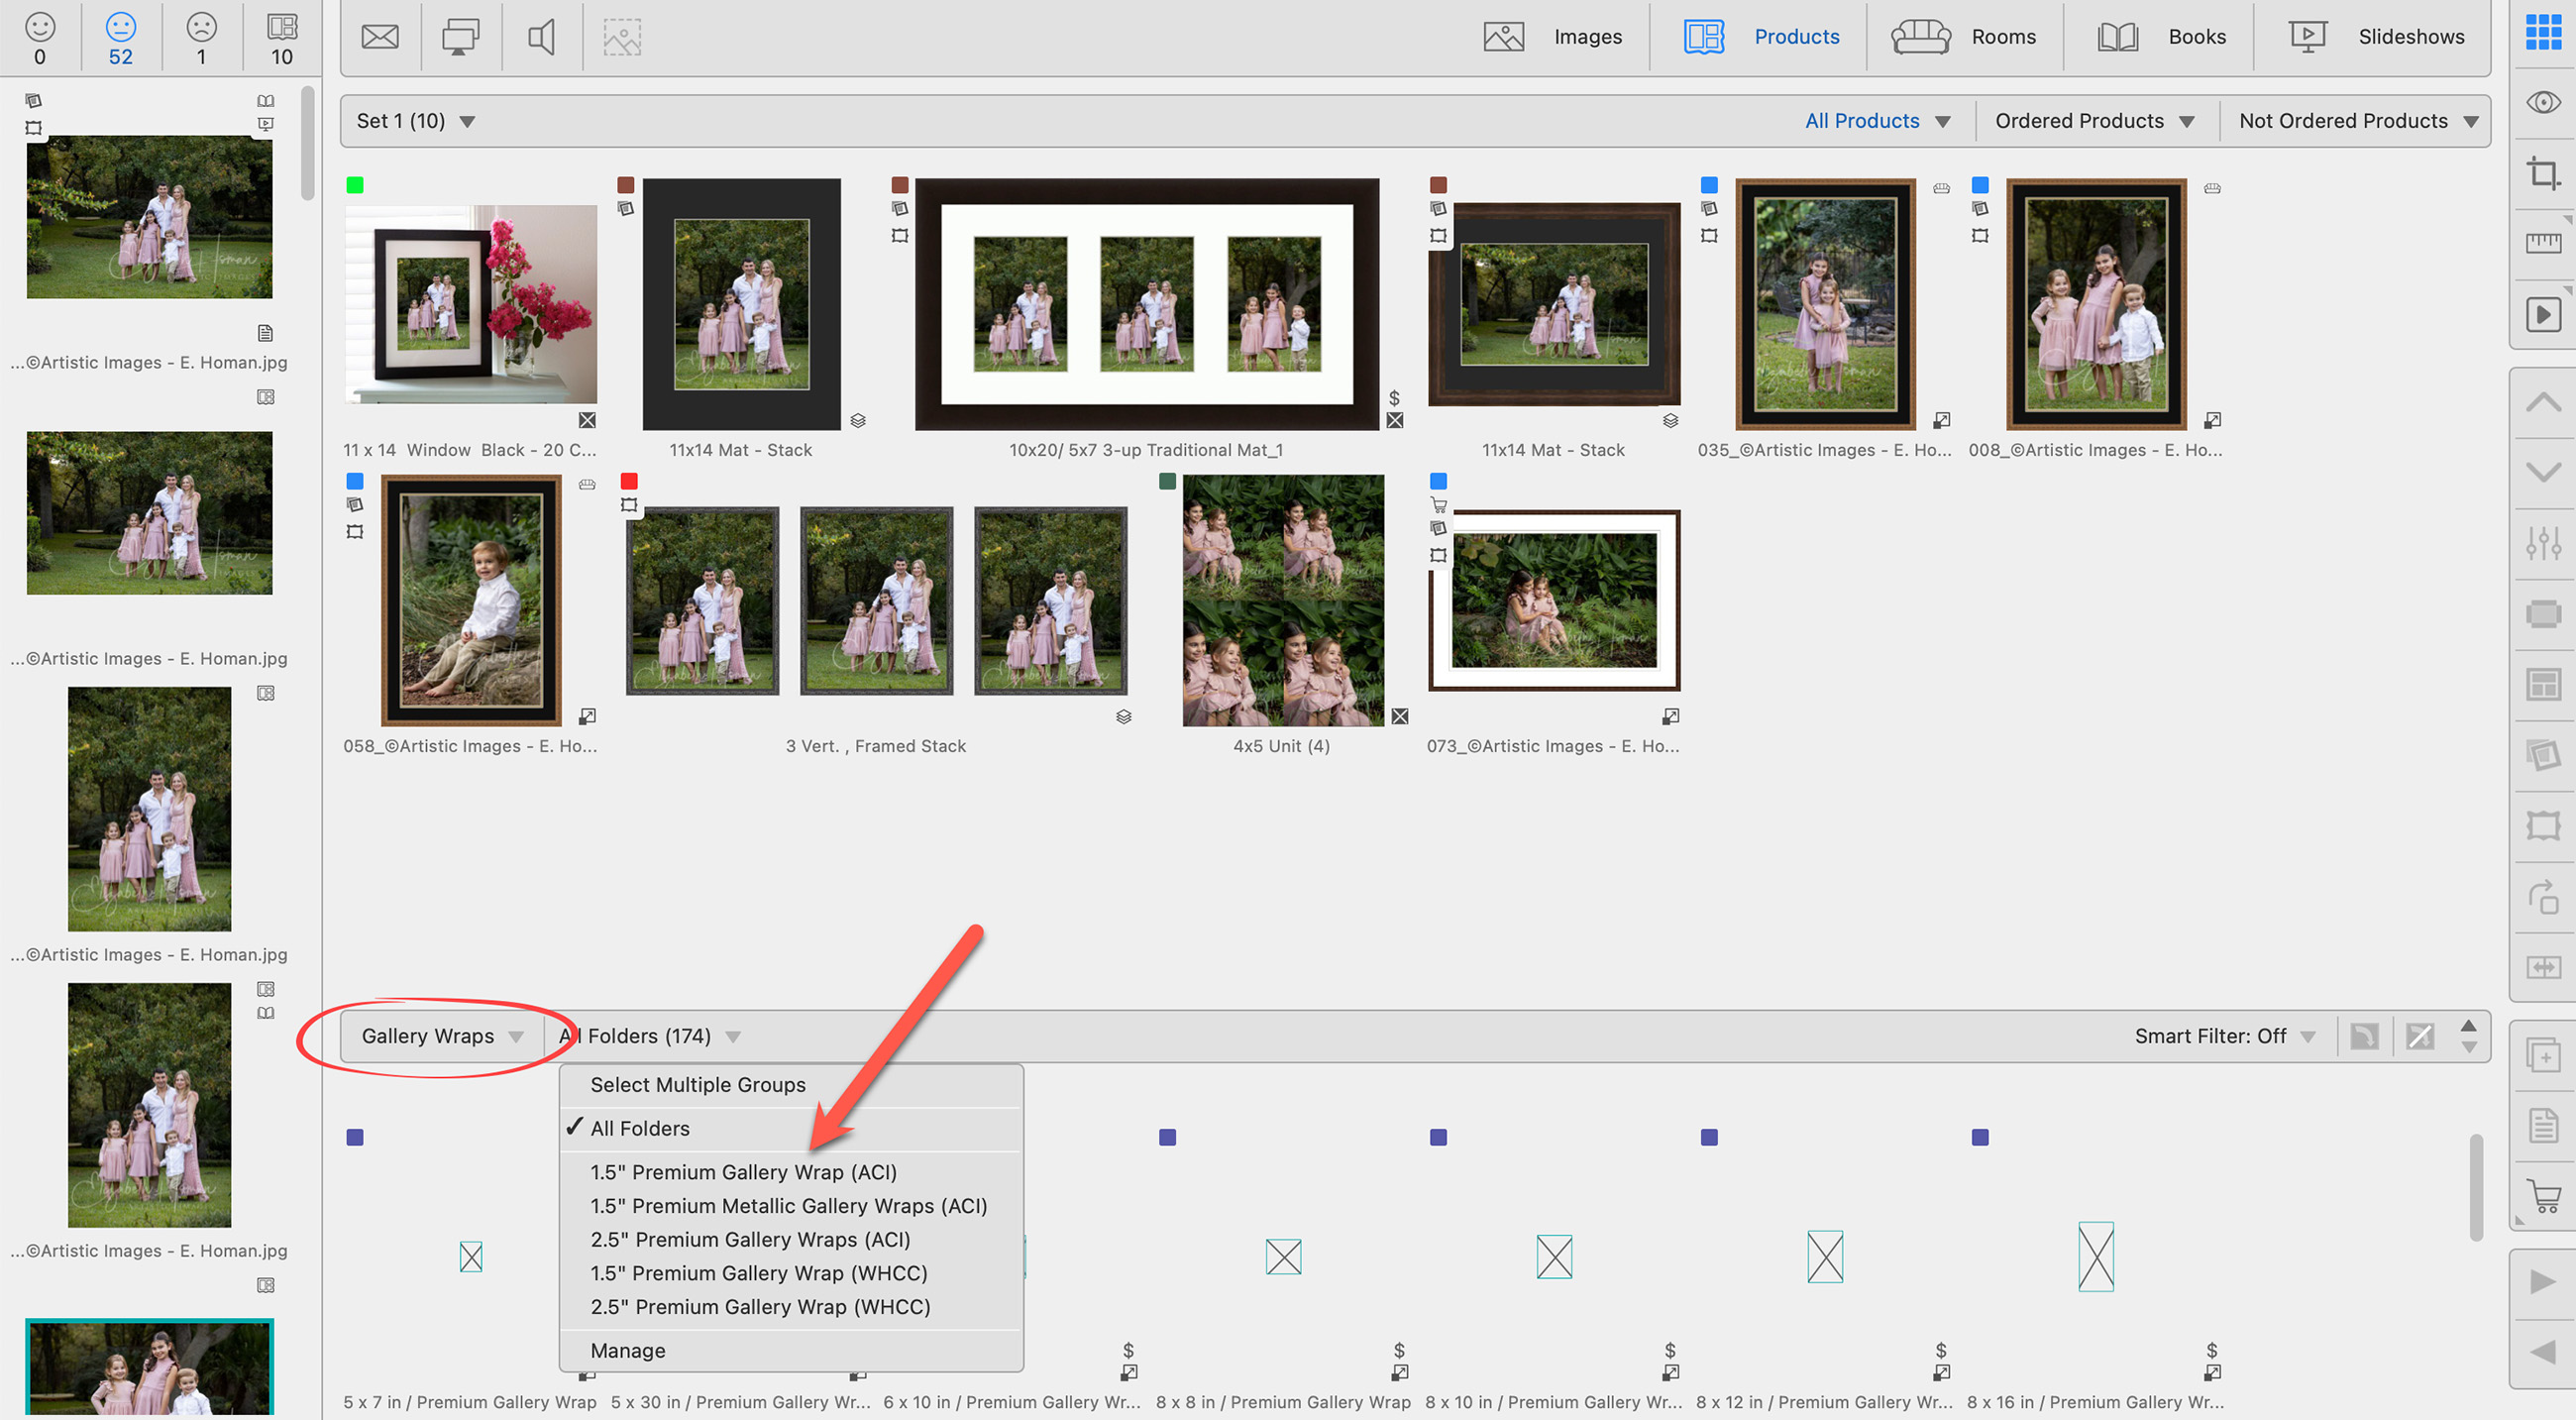
- Select your Gallery Wrap option. This is a combination of a Presentation Option and Edge Depth. See Gallery Wrap Components for more information.
- The print has now been converted.
- By default, Gallery Wraps will be created with a "Full Edge." Part of the image will be used to wrap around the sides of the gallery wrap.
Option 2: Use a Template
All of the gallery wraps created in the Product & Pricing Manager will appear in the template resource area. Drag a template into the main working area and populate it with an image.
Select an Edge Treatment
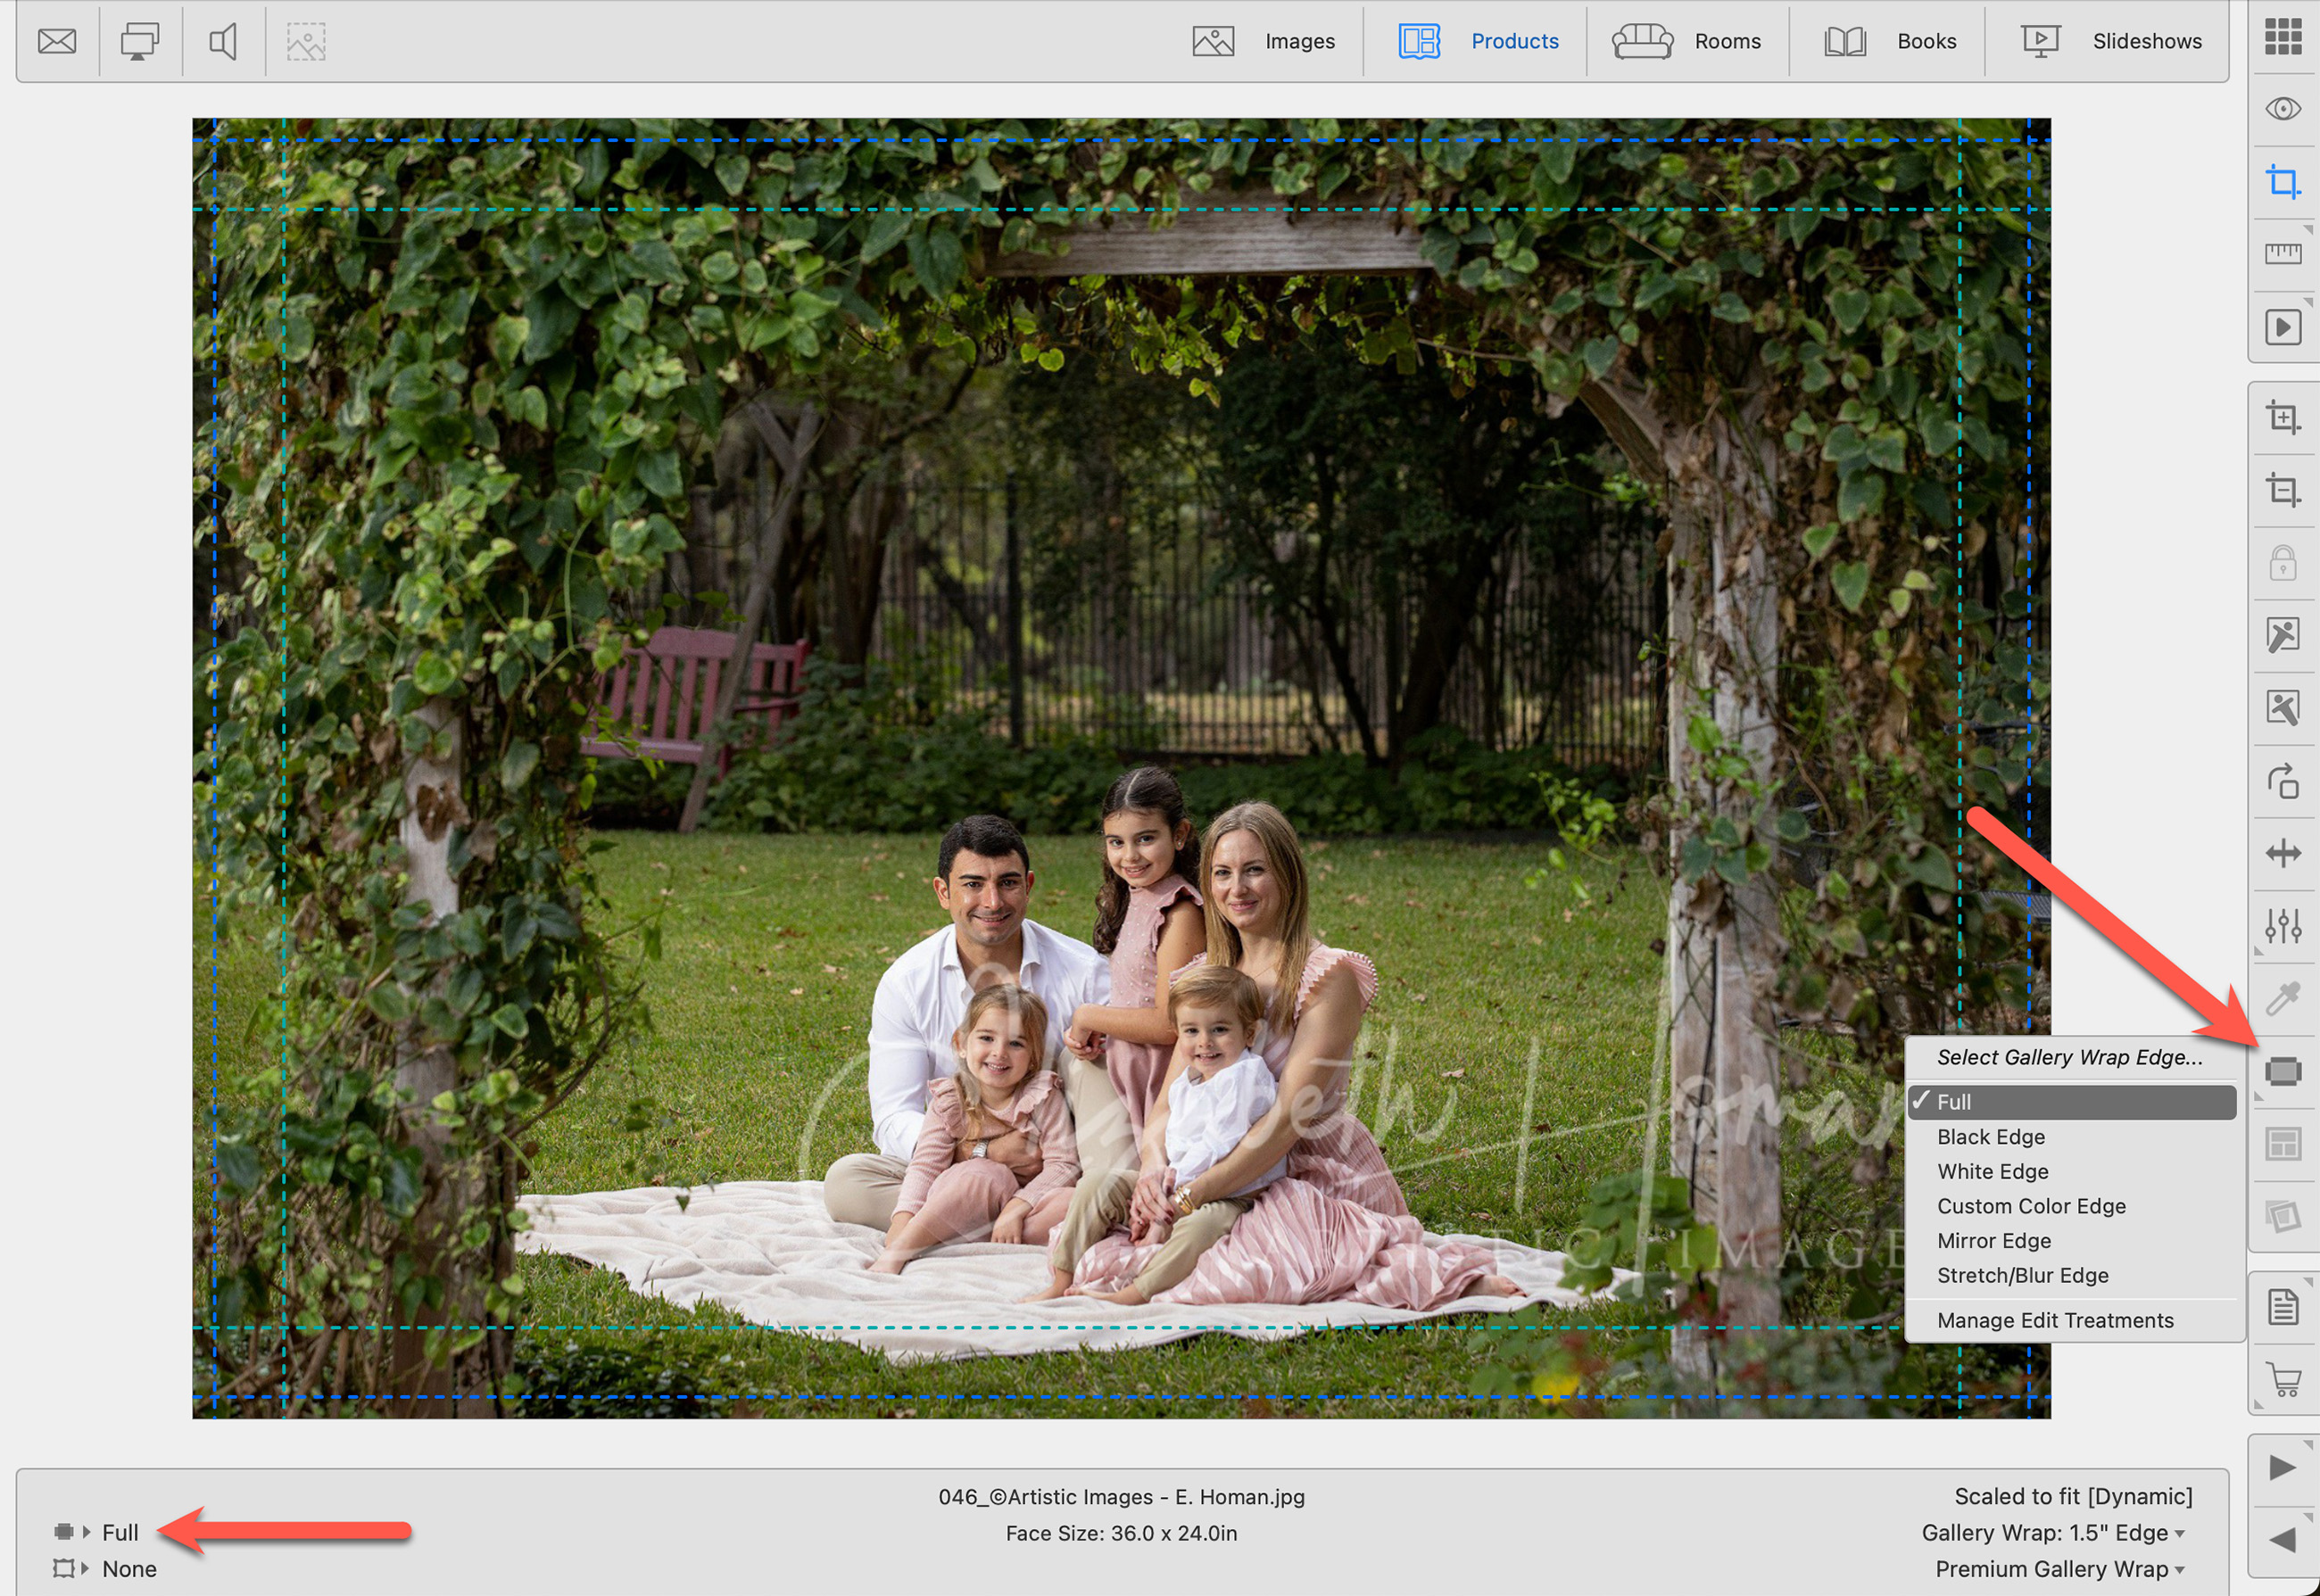
Once you have converted your print into a gallery wrap, use the Select Gallery Wrap Edge tool ![]() to select an edge treatment other than "full." Click on edge treatments to learn more.
to select an edge treatment other than "full." Click on edge treatments to learn more.
- Navigate to Cropping view to visually see the edge treatment you have selected.
- Gallery Wraps support custom color edges. See Select Edge/Style Color for more information.
- The teal dotted line represents the edge depth. The "face size" of the gallery wrap is within the dotted line, and best viewed in Show view.
- The blue dotted line represents the bleed required by the lab to produce the gallery wrap.
- The info bar will show the currently selected edge treatment.