Linking an Album
When you save a new album for the first time, if you have selected “Always prompt to link to StudioCloud” in your Settings, a dialog window will automatically appear to guide you through linking the album to a StudioCloud client and event.
If you didn’t enable that setting, you can still open the same window manually at any time by going to the top menu, File > Link to StudioCloud.
Step 1: Find a Client
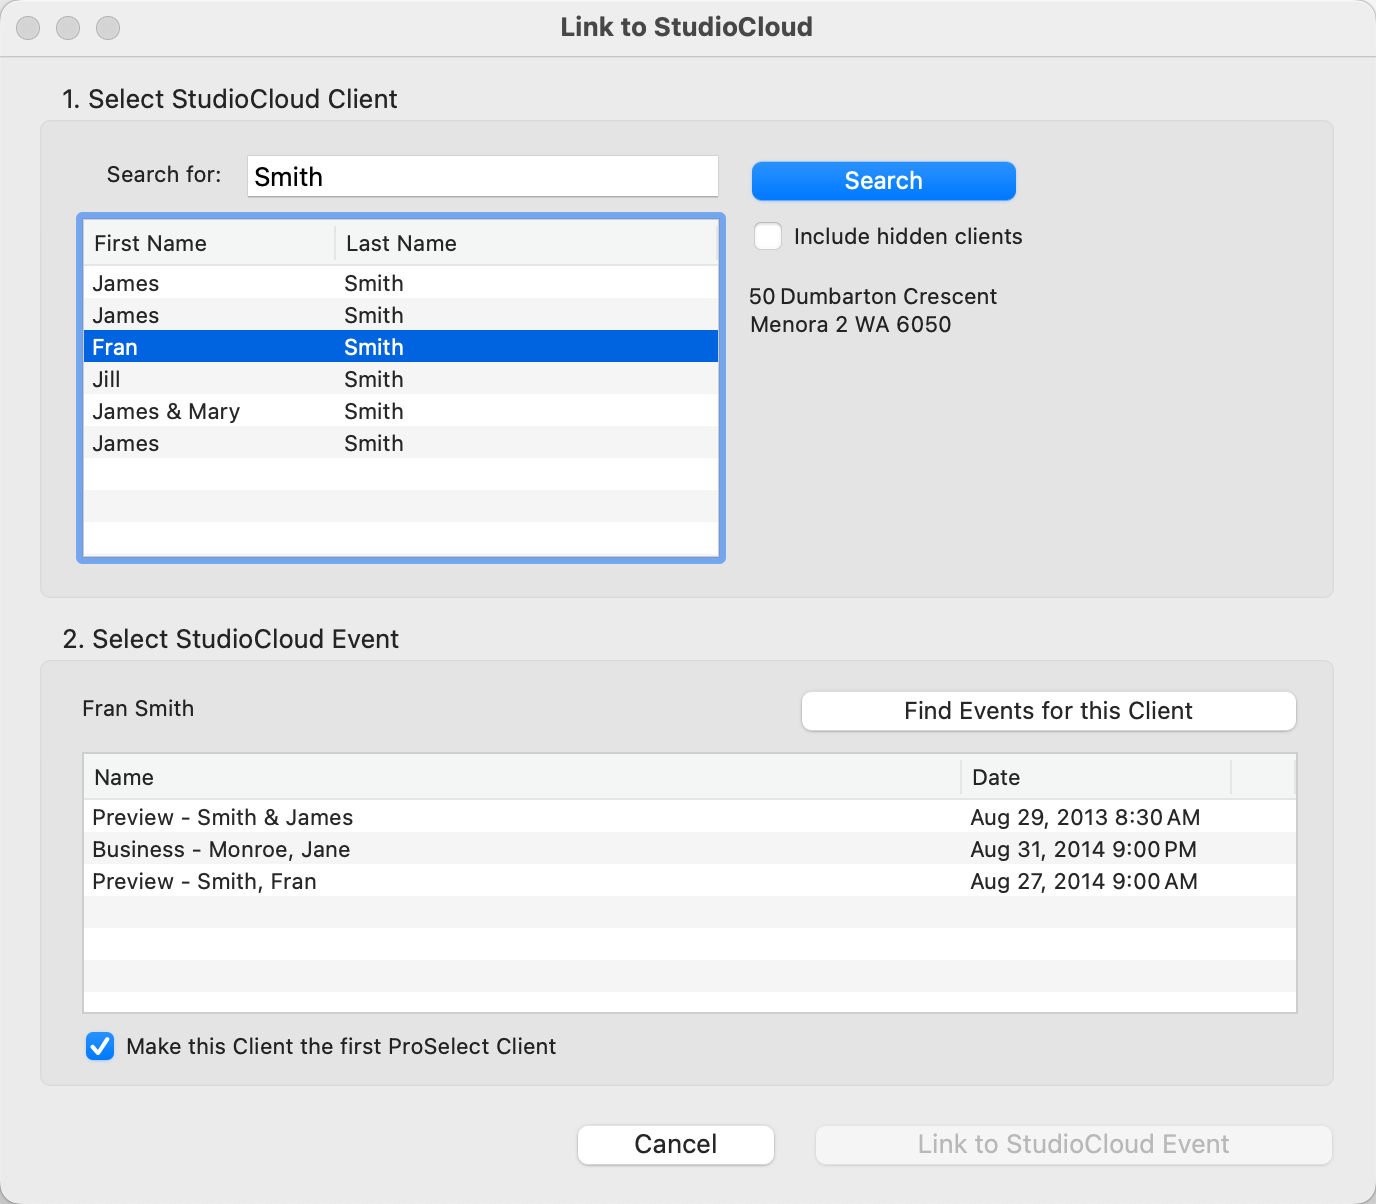
If you've already entered a name for the first client in your album, it will appear in the search box. Click the Search button to find all StudioCloud clients that match either the first or last name you entered.
- In StudioCloud, some non-primary clients (such as relatives) can be marked as hidden. If you want to include these in your client search, check the "Include Hidden Clients" box before performing the search.
Step 2: Select an Event
After selecting a StudioCloud client, click the Find Events for this Client button to list all related events. Choose the appropriate event from the list, then click the Link to StudioCloud button to complete the connection.
- If you want the selected client’s details to automatically populate the first client in the album, check the box at the bottom of the window before linking.
- Because you are linking to a StudioCloud event that must already be tied to a client, this client-event connection must first exist in StudioCloud before you can link it in ProSelect.
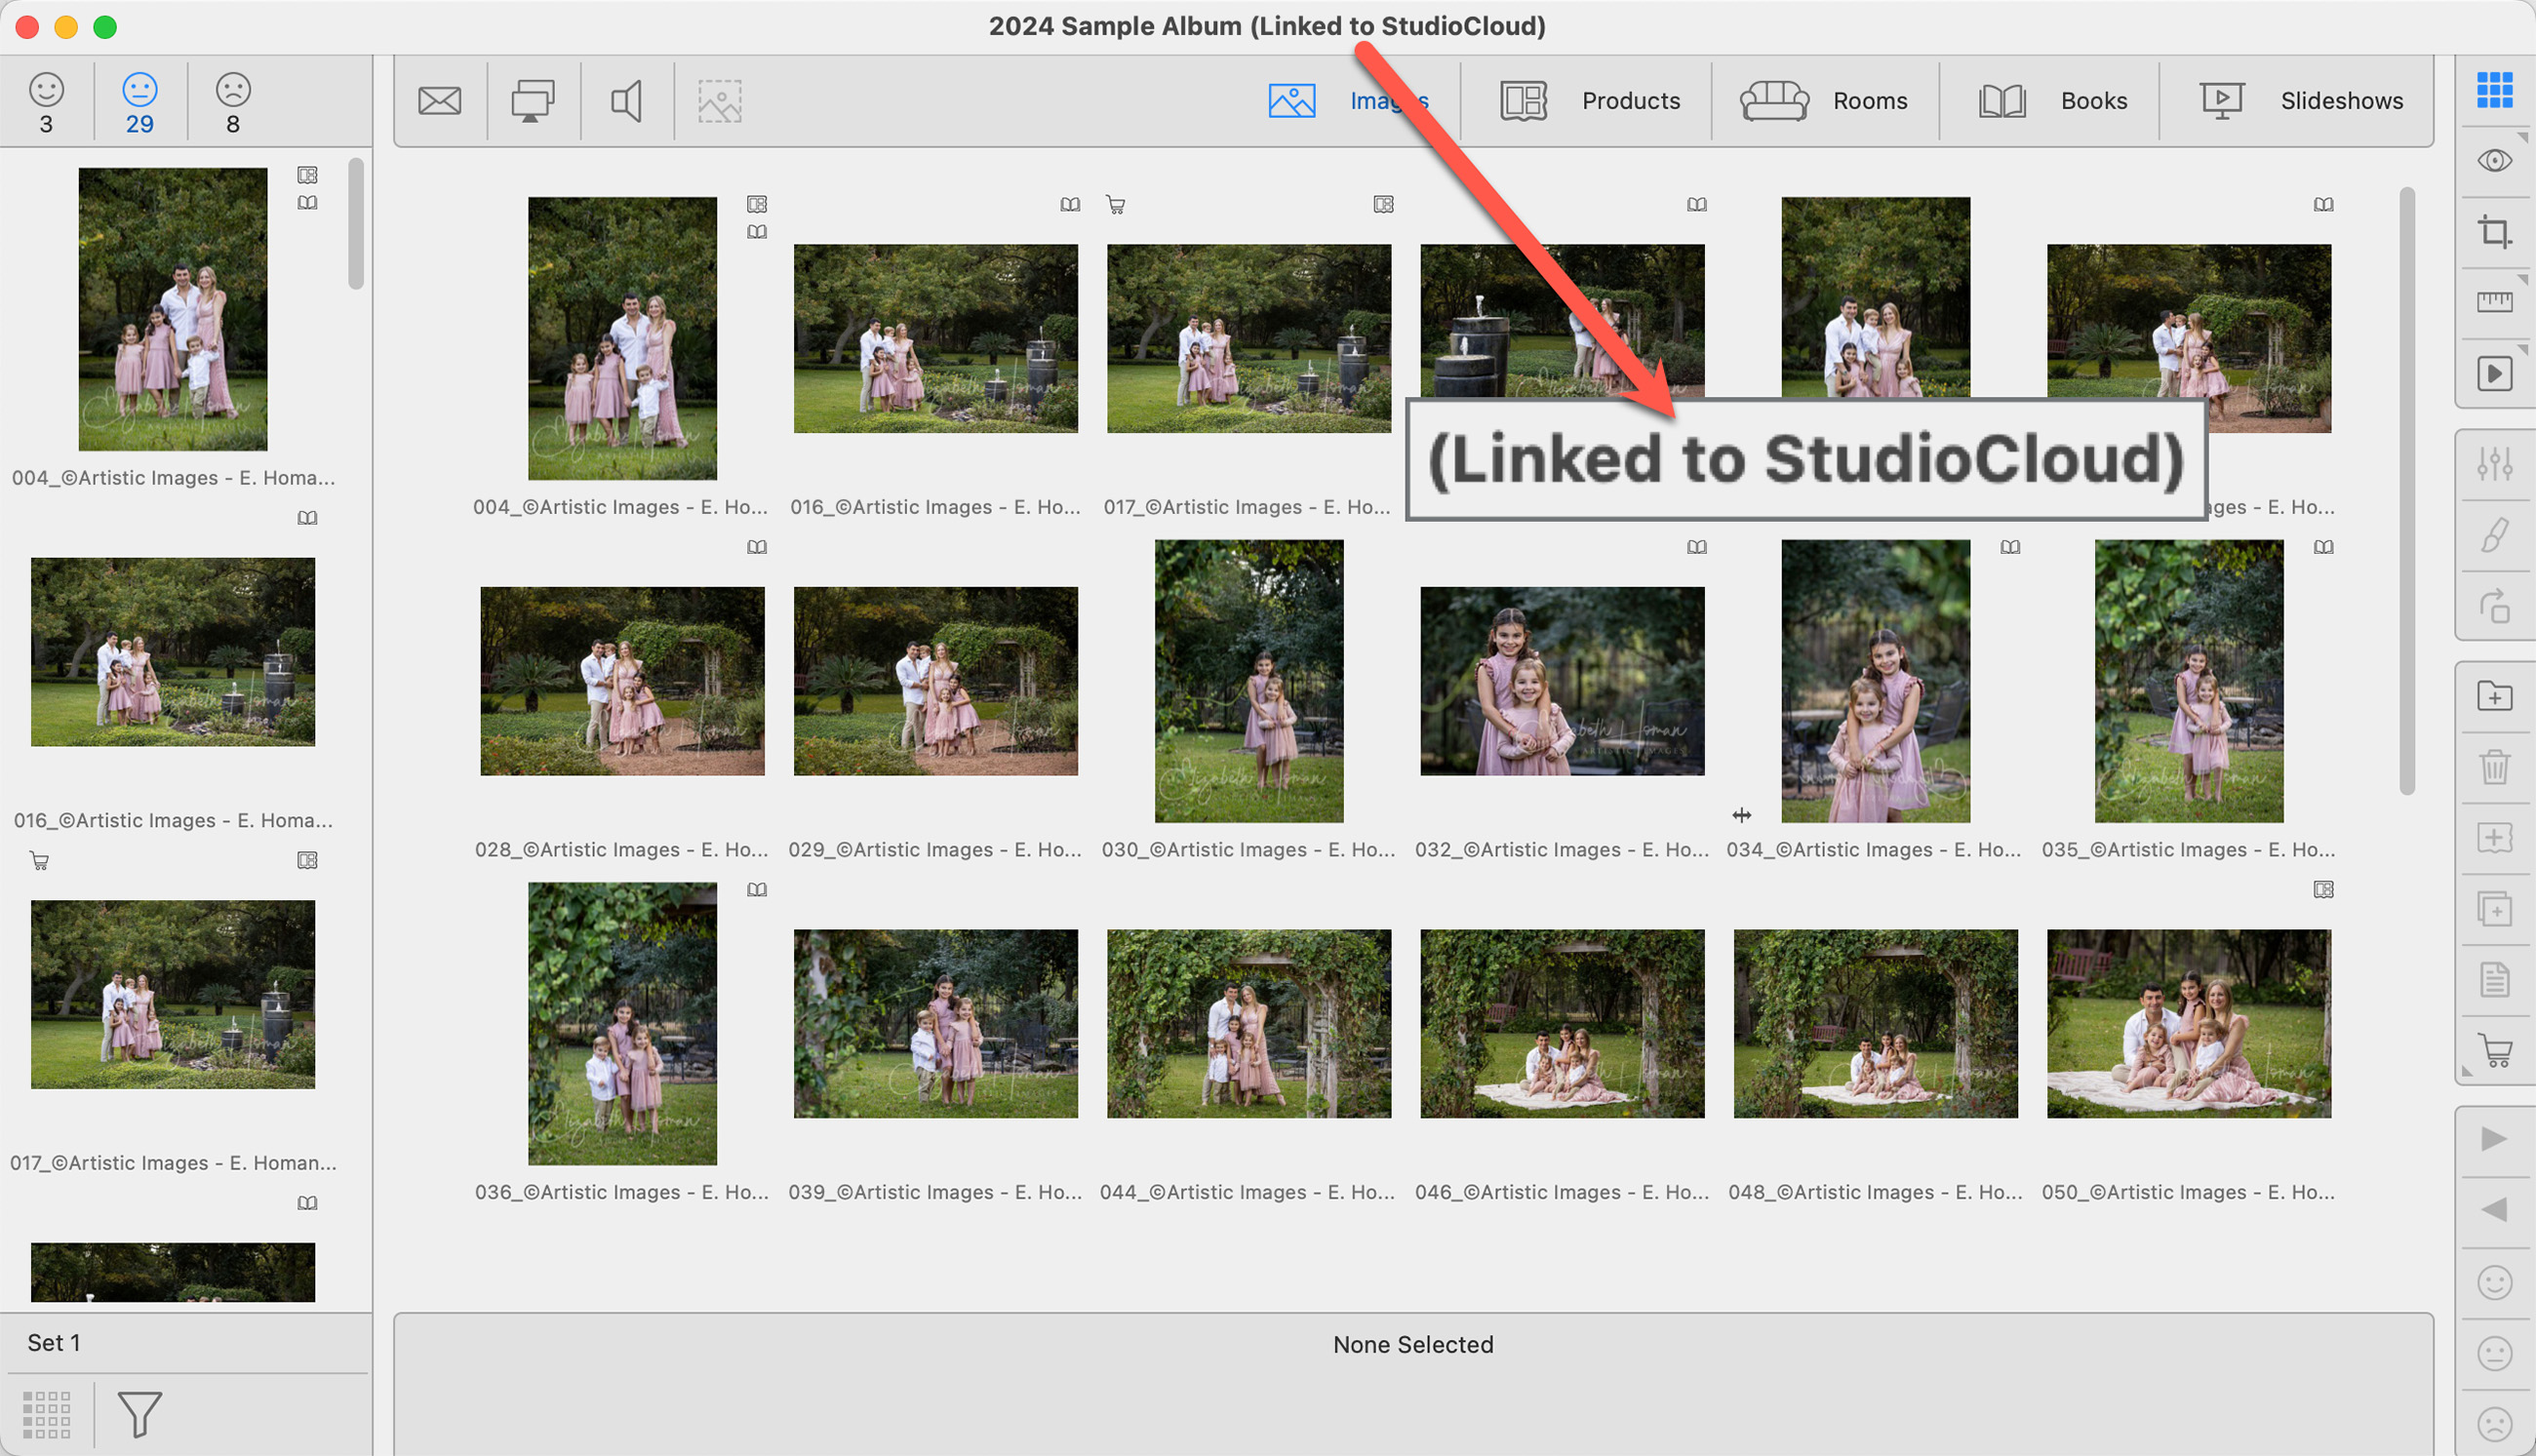
- Once the album is linked, you'll see "Linked to StudioCloud" in the main window’s title bar, and the name of the linked event will appear at the top of the StudioCloud submenu under the Orders menu.
- When linking an album to StudioCloud, ProSelect will automatically check to see if there are any existing StudioCloud invoices associated with both the selected client and the selected event. Click on Importing an Invoice to learn more.