Selecting Items
Like most computer programs, ProSelect allows you to select one or more items and then apply actions to those selected items. These actions may include applying tools, moving items, or modifying their properties.
Actions You Can Apply to Selected Items
Once selected, you can perform the following actions:
- Apply tools or commands from the right-hand toolbar or menus (e.g., convert selected images to Black & White).
- Change the order or position of items (e.g., drag thumbnails to new positions in Thumbnail View).
- Move items between groups (e.g., drag images between different tabs or sets).
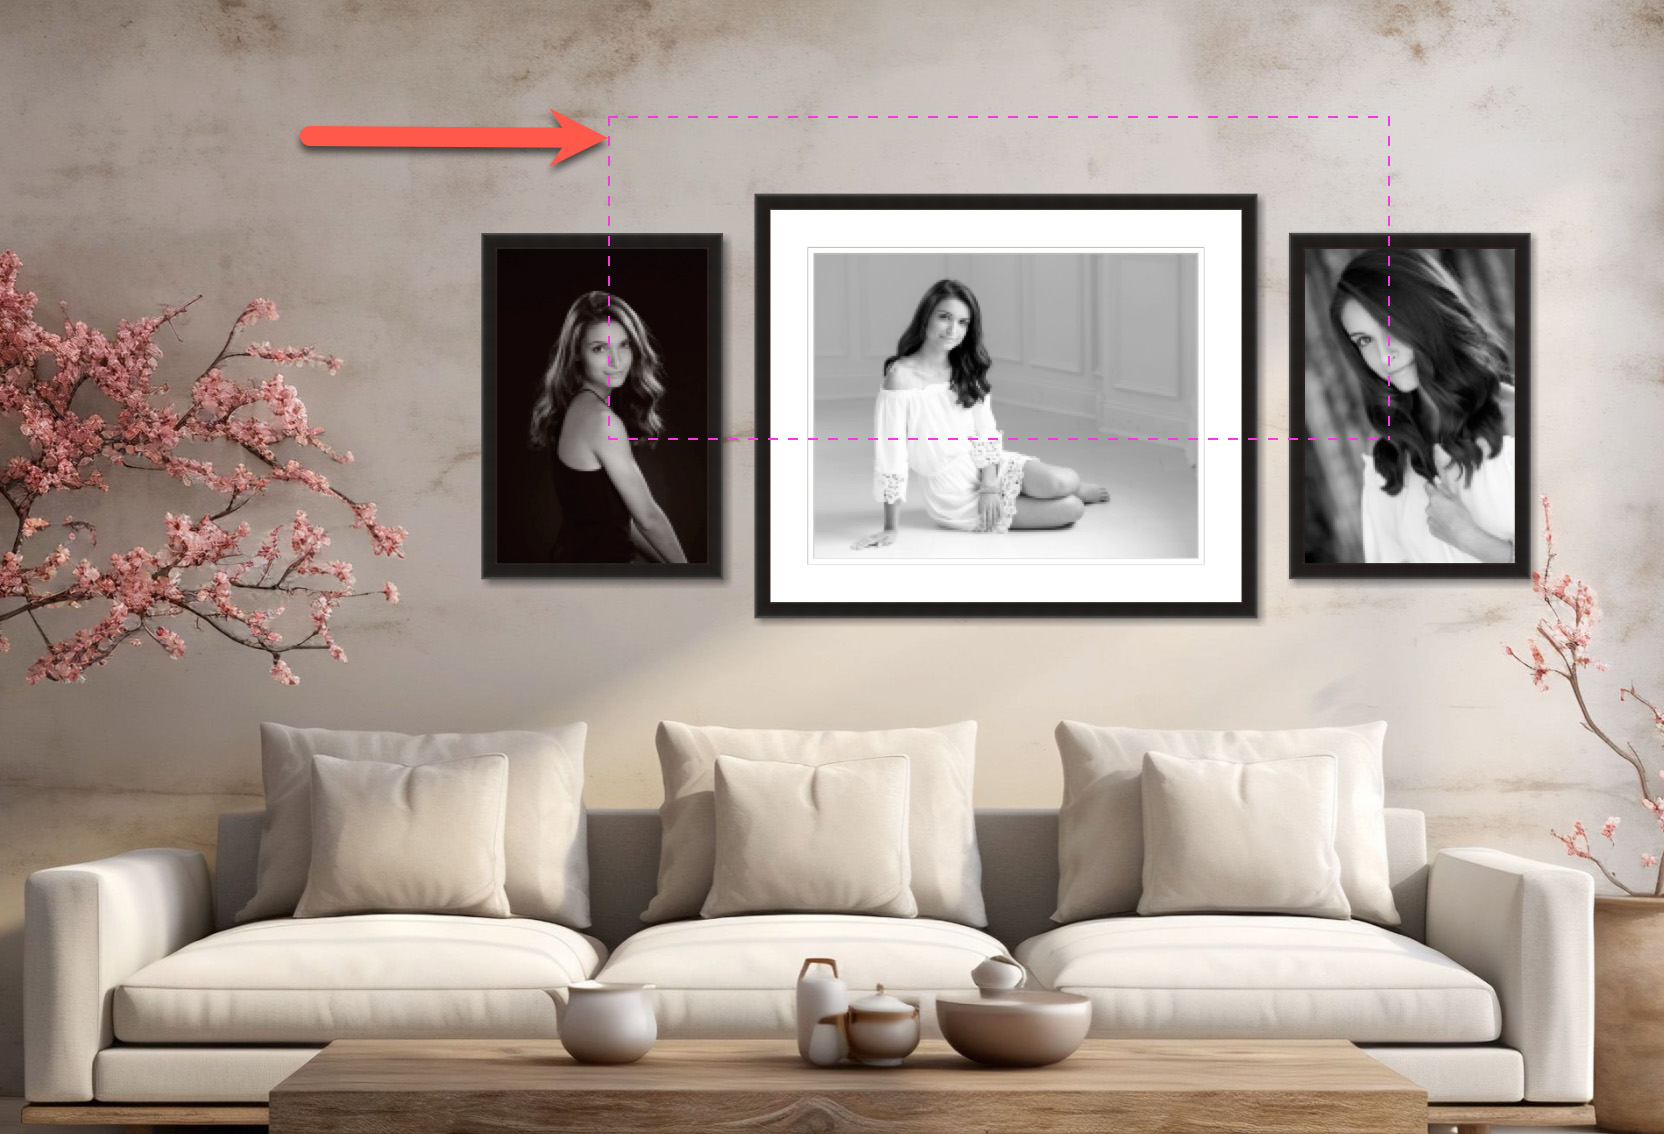
- Adjust display positions (e.g., reposition products on a room view background).
Selected items are typically outlined to indicate their status:
- Selected items display a blue border in Light Mode or a gold border in Dark Mode.
- When Working with Rooms, items in the room show a selection border that matches their product type color coding. For example, Wall Groupings, which are color-coded red, will display a red border when selected.
 Quick Tip - Single Items Being Displayed
When a single item is displayed (outside of Thumbnail View), it is assumed to be selected even though it may not show a selection border. Any action will apply to it automatically.
How to Select Items
- Single Click: Select a single item by clicking it.
- Shift-Click: Select a range of items from the closest selected item to the newly clicked item.
- CommandControl + Click: Add or remove individual items from your current selection.
- CommandControl + A: Select All.
- Click away from items: Deselect all items.
- On the top menu, Edit > Select None: Clears the current selection.
- Drag a selection marquee over items to select them.