Sharing Data - One Time Transfer
If you only need to transfer ProSelect data to another computer occasionally, follow these steps to copy your ProSelect_Data.xml file and the ProSelect Resources folder. You can then transfer this to another computer. You can optionally transfer your Settings to maintain a consistent setup.
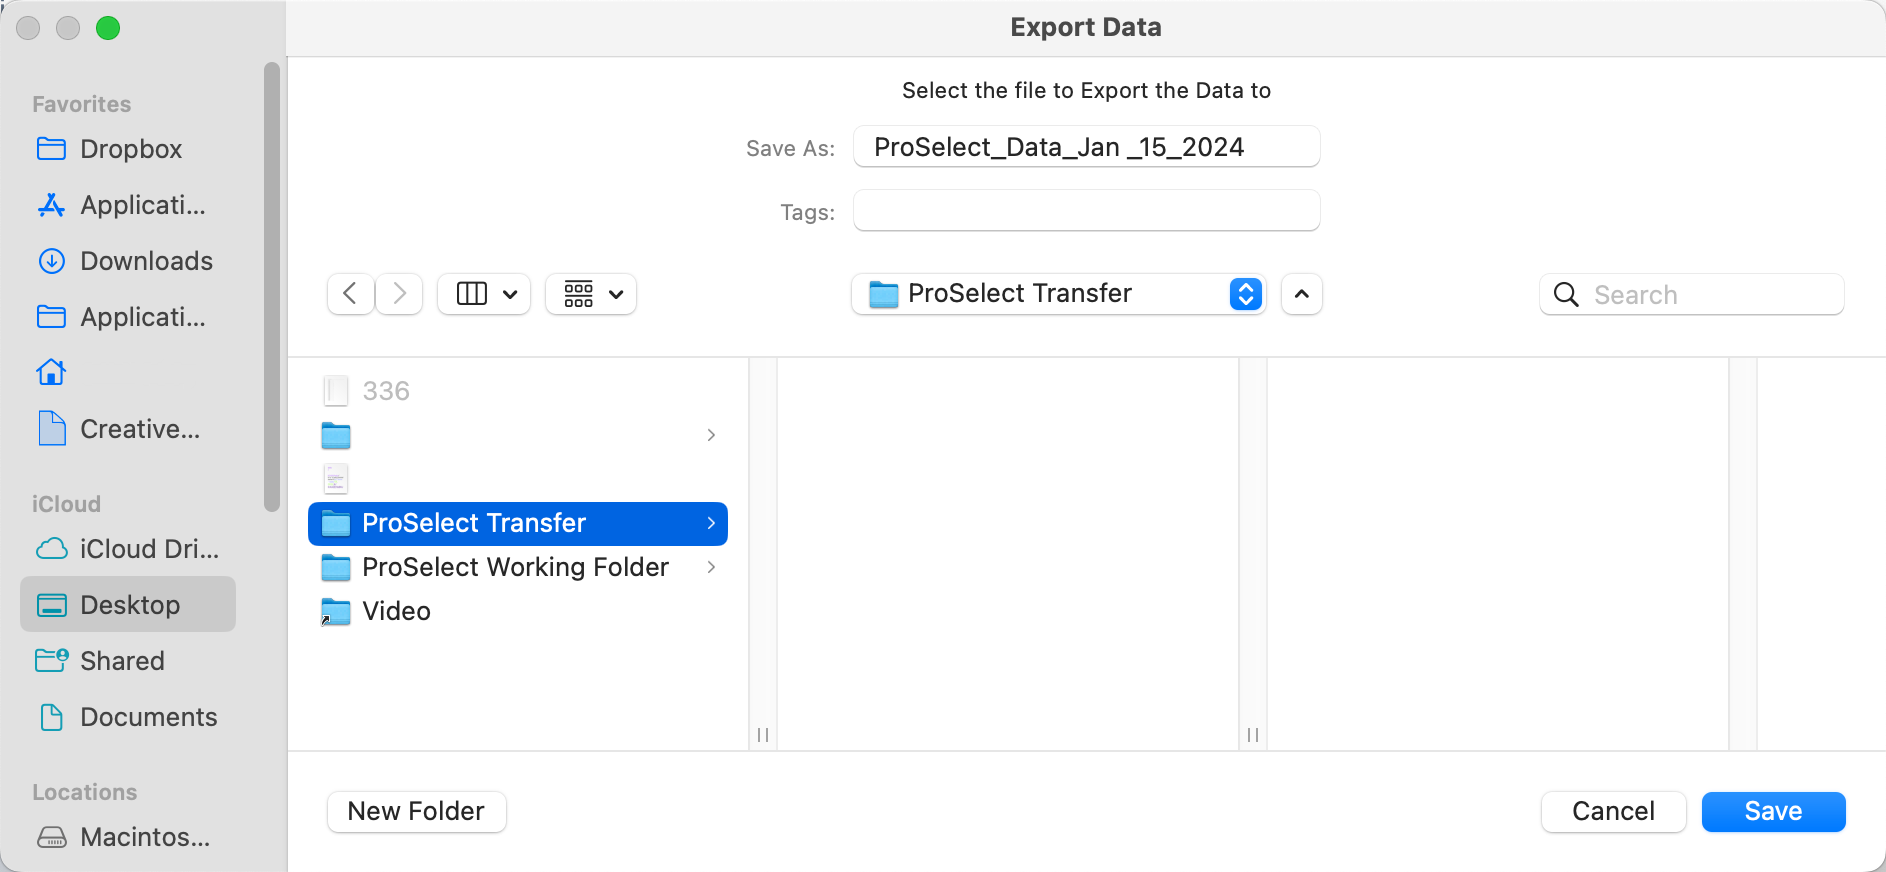
Step 1: Copy your ProSelect Data File
- In ProSelect, go to the top menu, File > ProSelect Data > Export Data to.
- Save the data file (.xml) to your computer (in this case, a folder called "ProSelect Transfer") or an external drive.
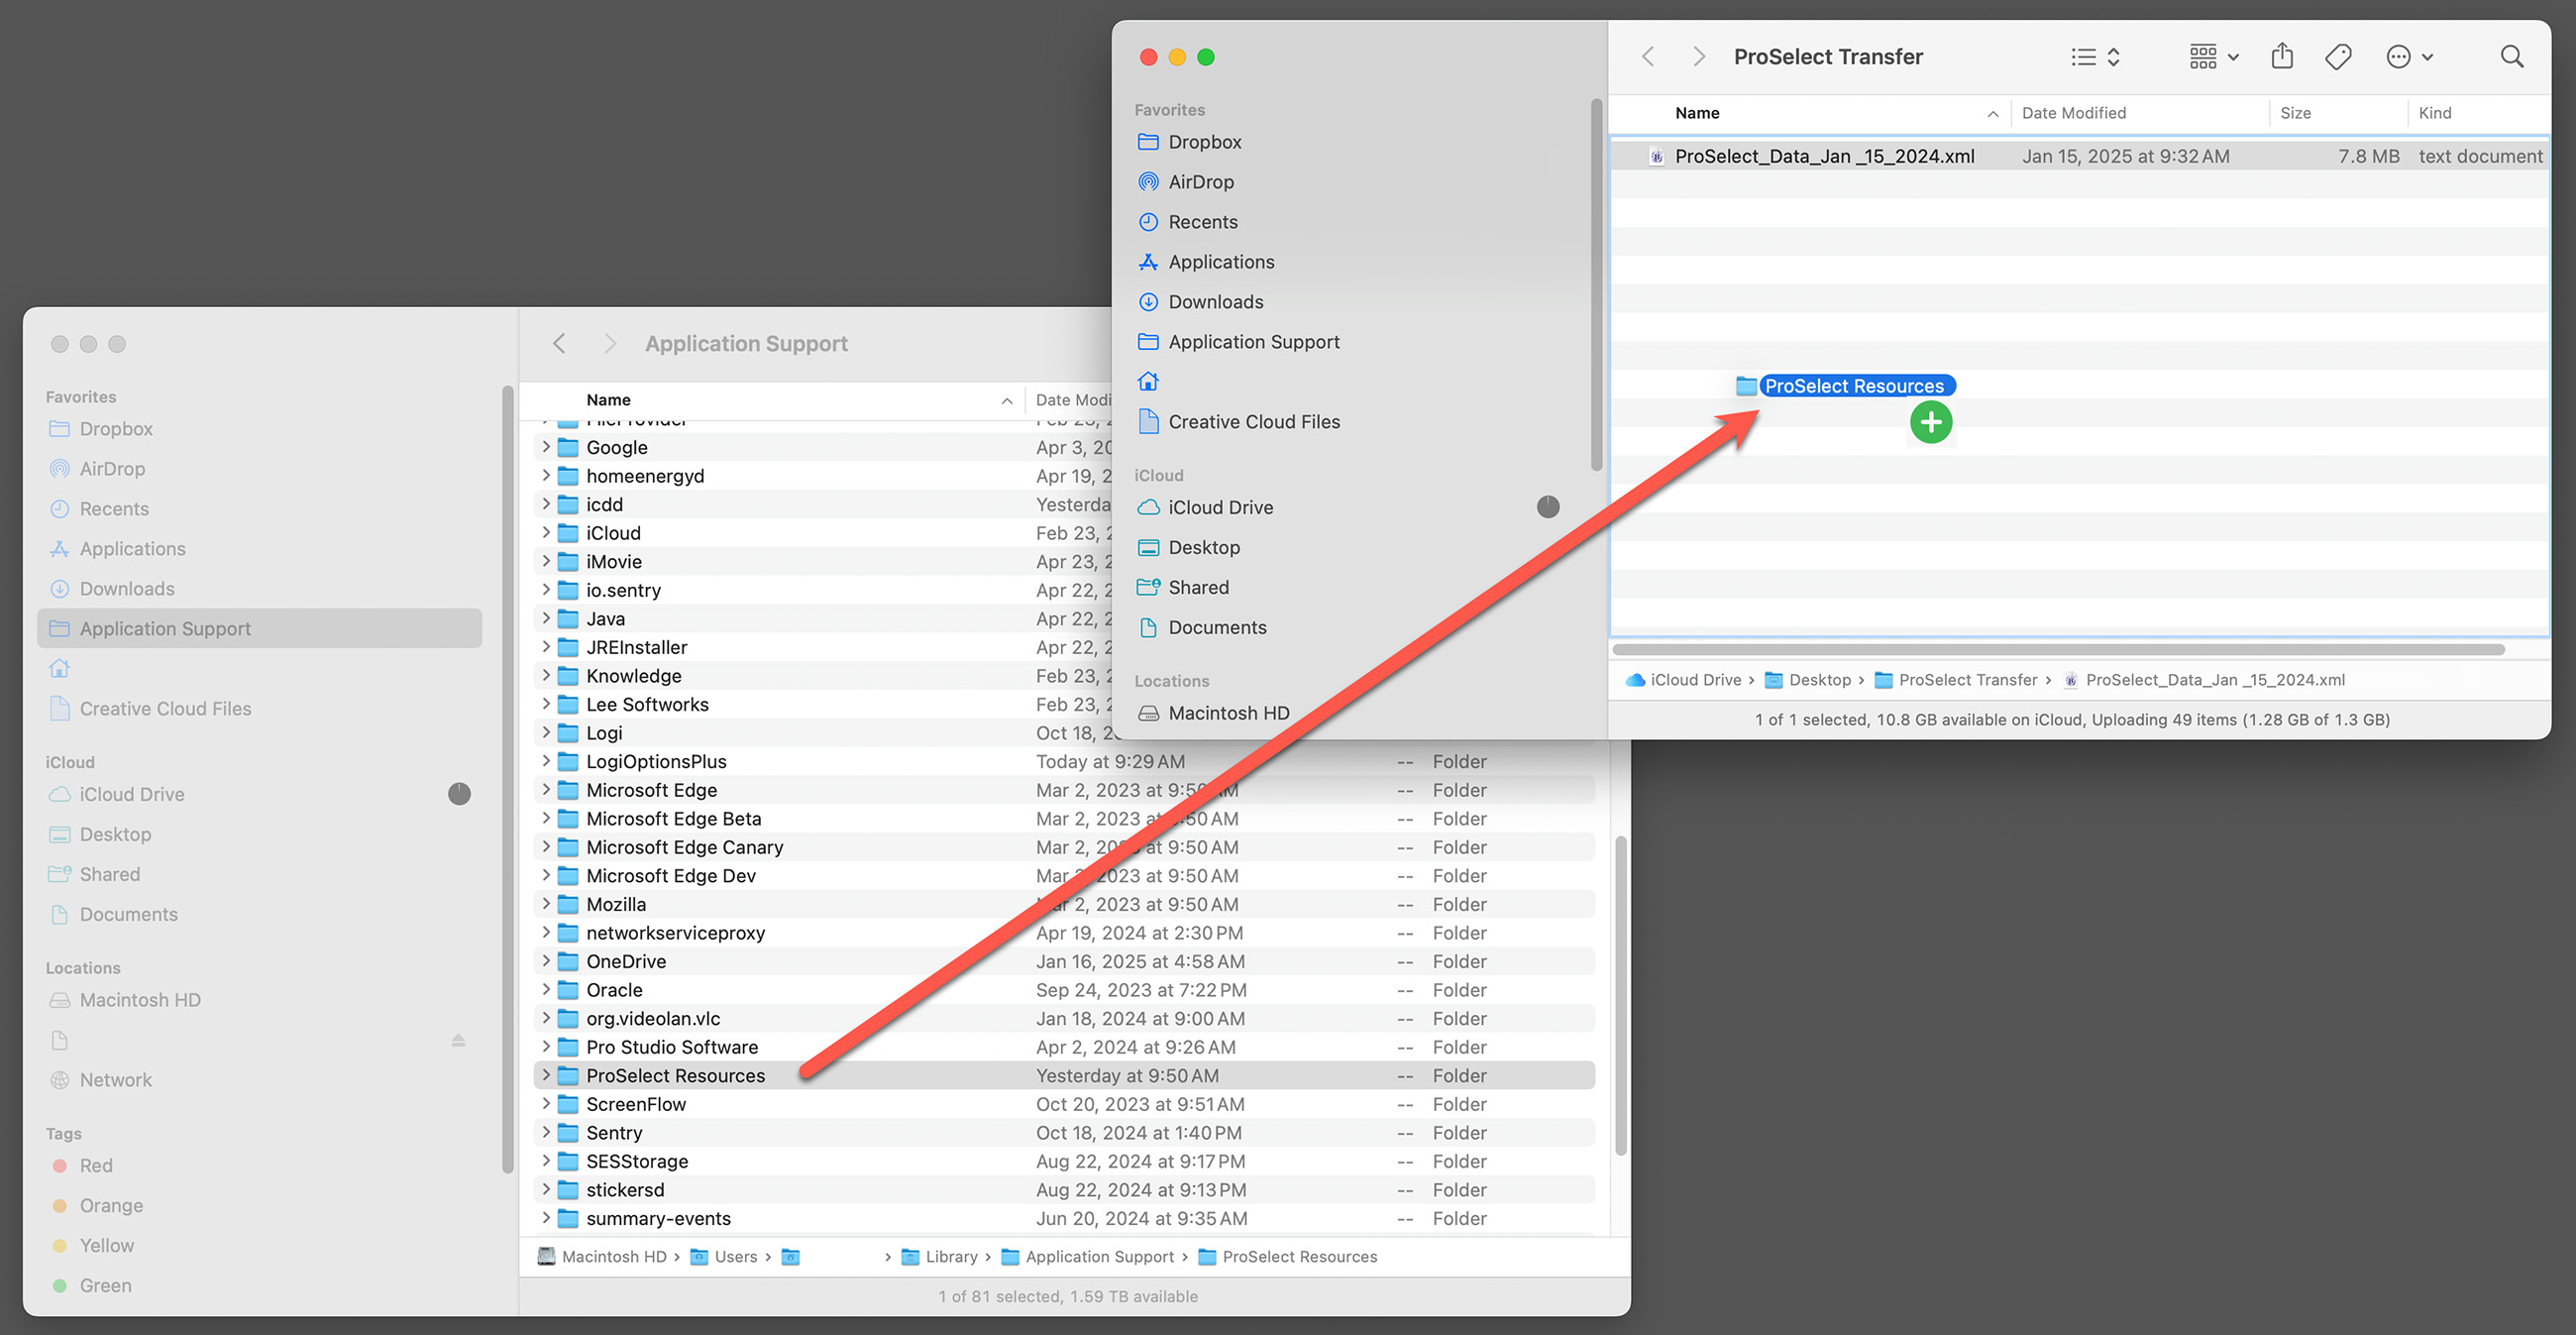
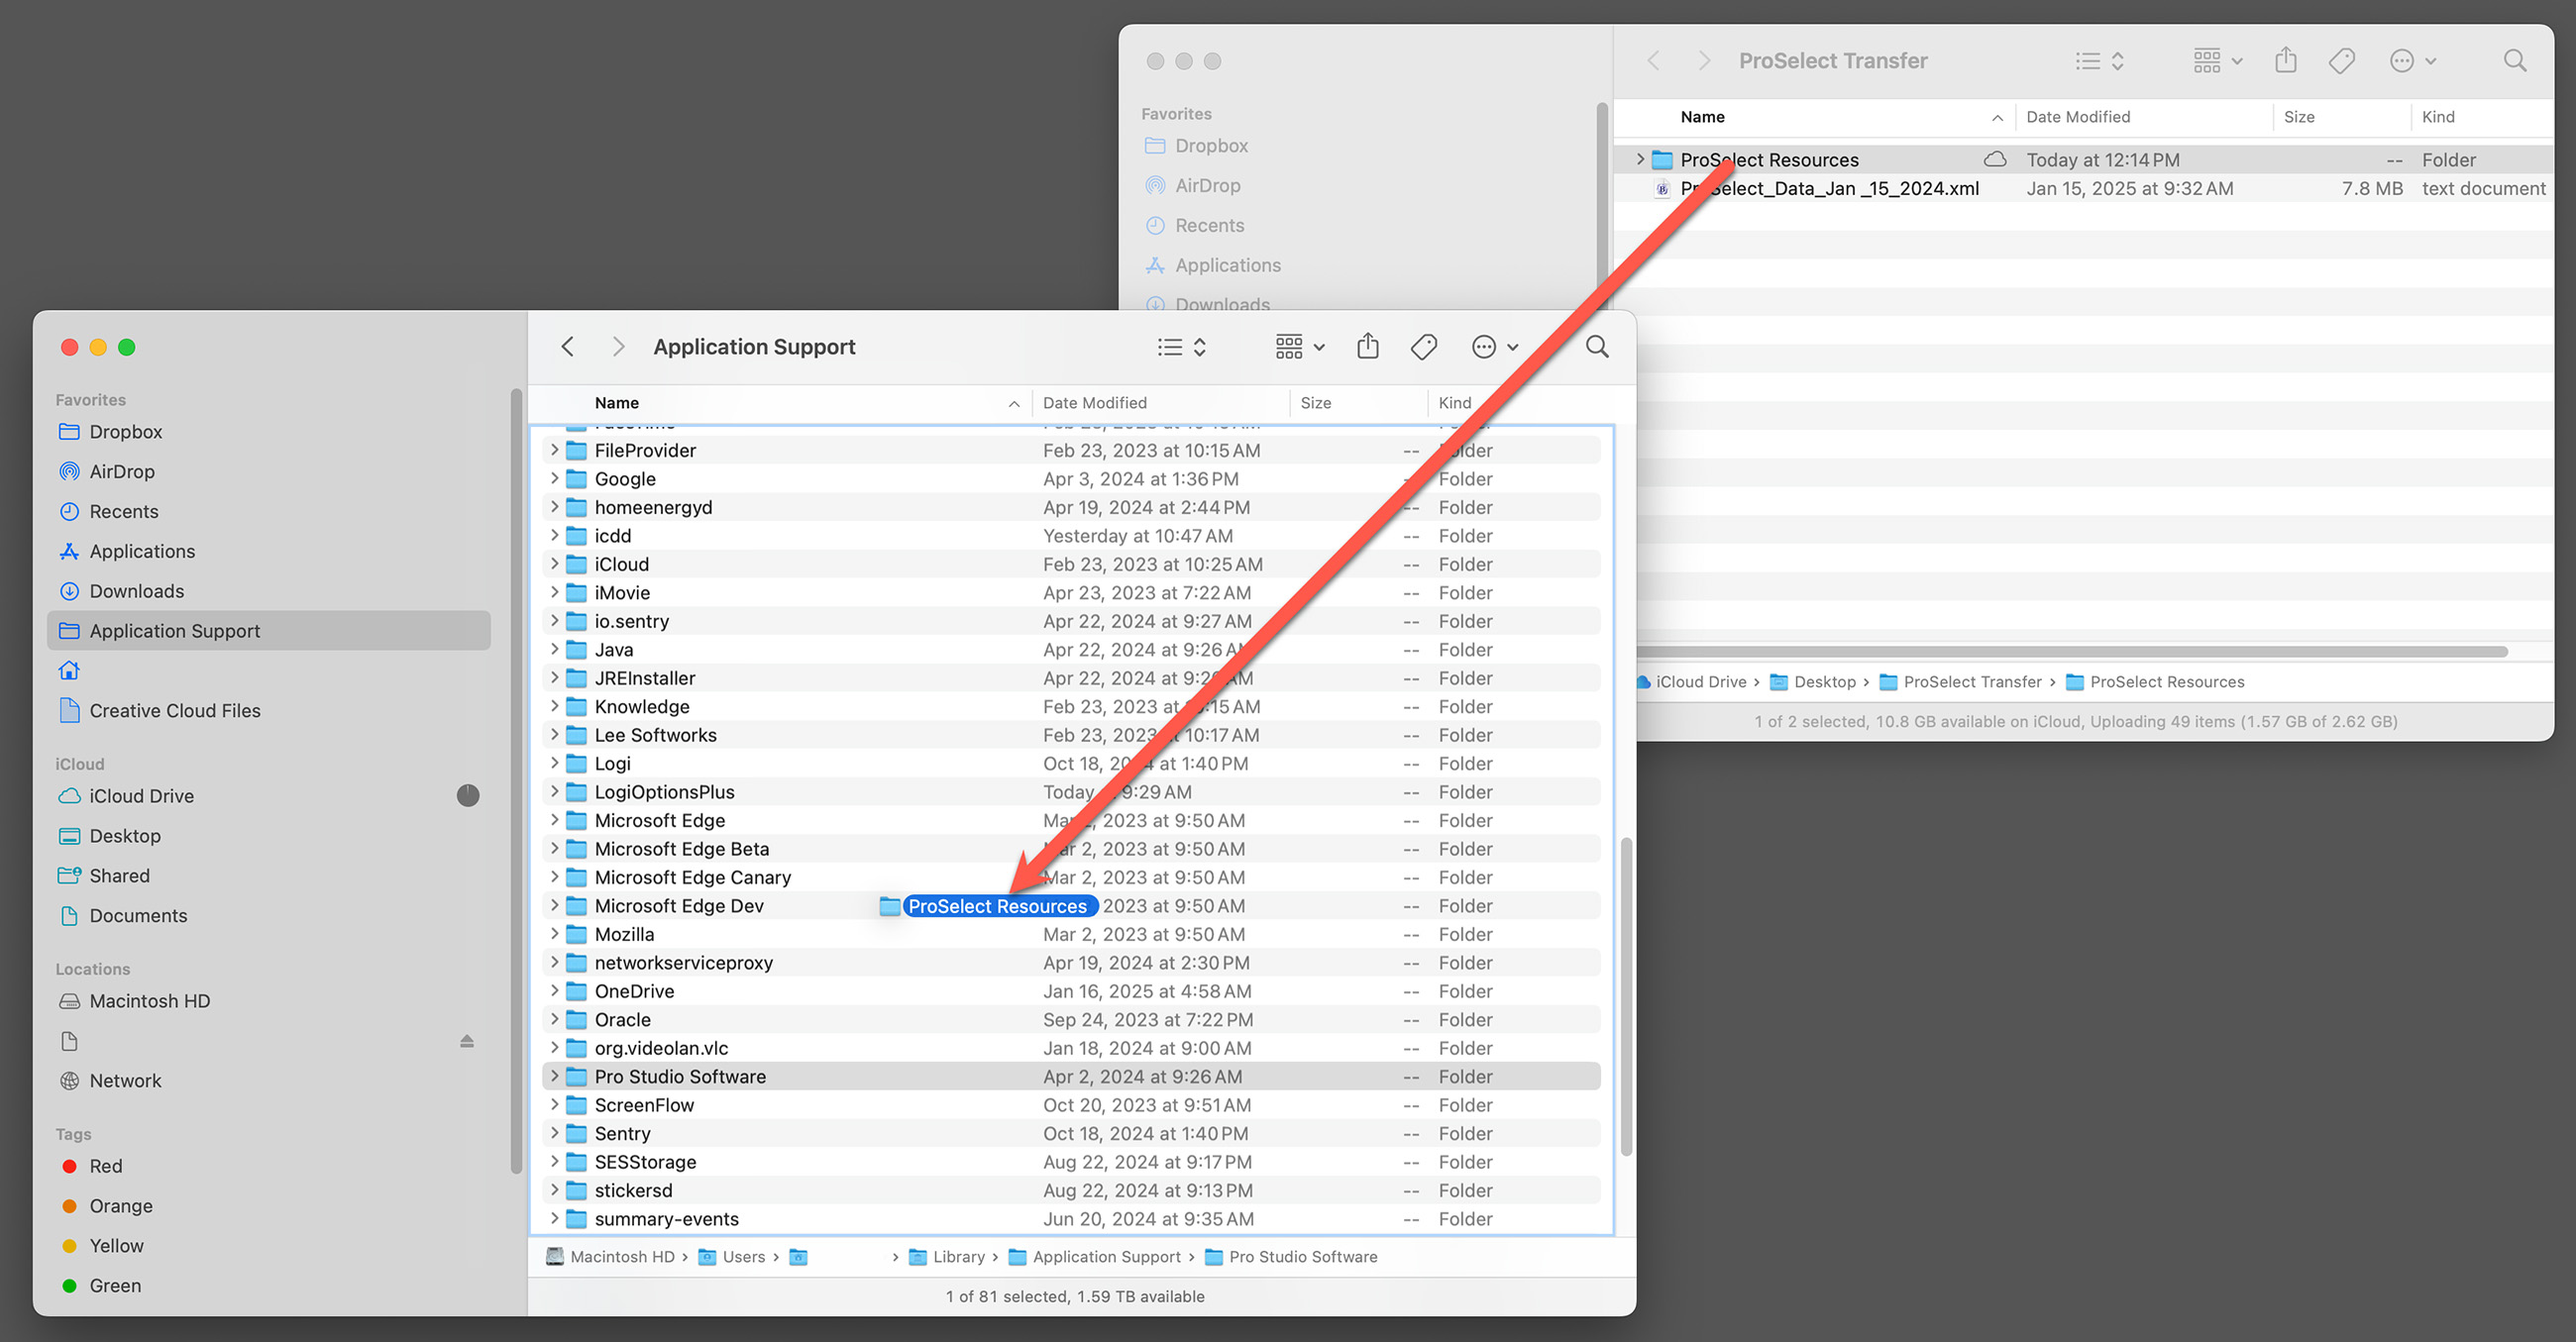
Step 2: Copy the ProSelect Resource Folder
- In ProSelect, go to the top menu, Resources > ProSelect Resources Folder > Show in FinderExplorer.
- Open the folder you are transferring to the other computer. In this case, we created a folder on our desktop called "ProSelect Transfer."
- With both windows open, hold down the OptionCtrl key and drag the ProSelect Resources folder across to the transfer folder. This action creates a copy of the folder, instead of moving it. A green circle with a plus indicates the copy.
Step 3: Copy your Settings (optional)
- In ProSelect, go to the top menu, ProSelectEdit > Settings.
- Under General Settings, select the "Sharing" tab.
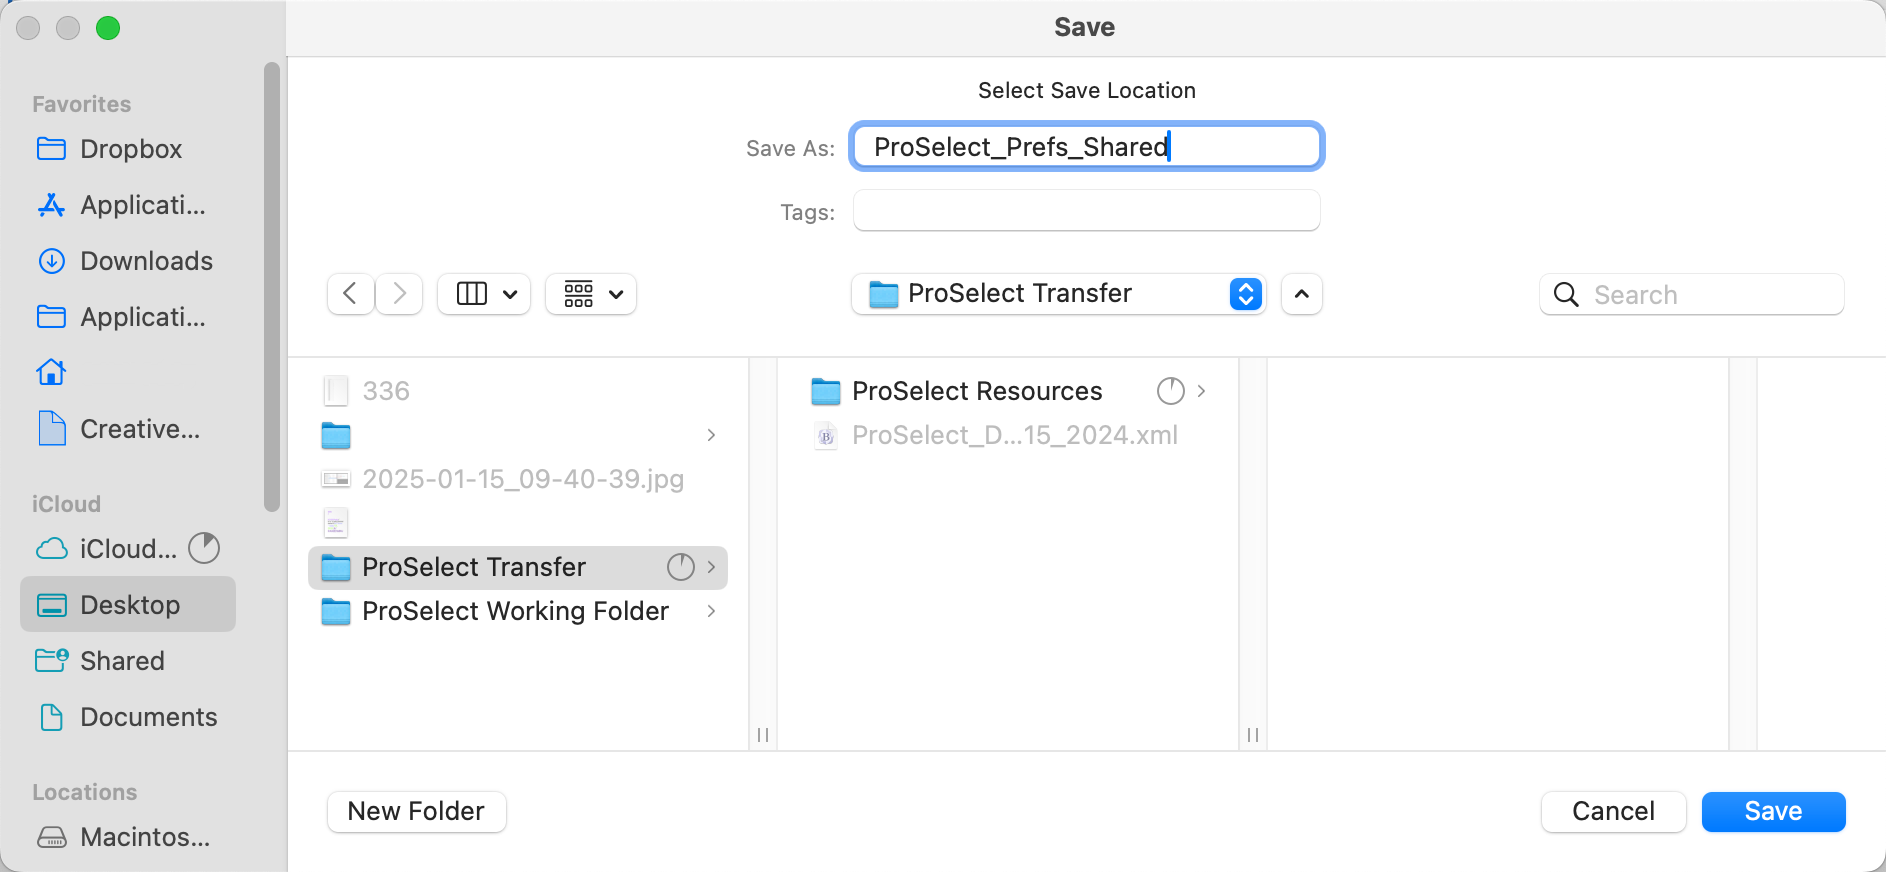
- In the Sharing Settings area, select "Selected Folder" and click on the Save button (next to the Load button).
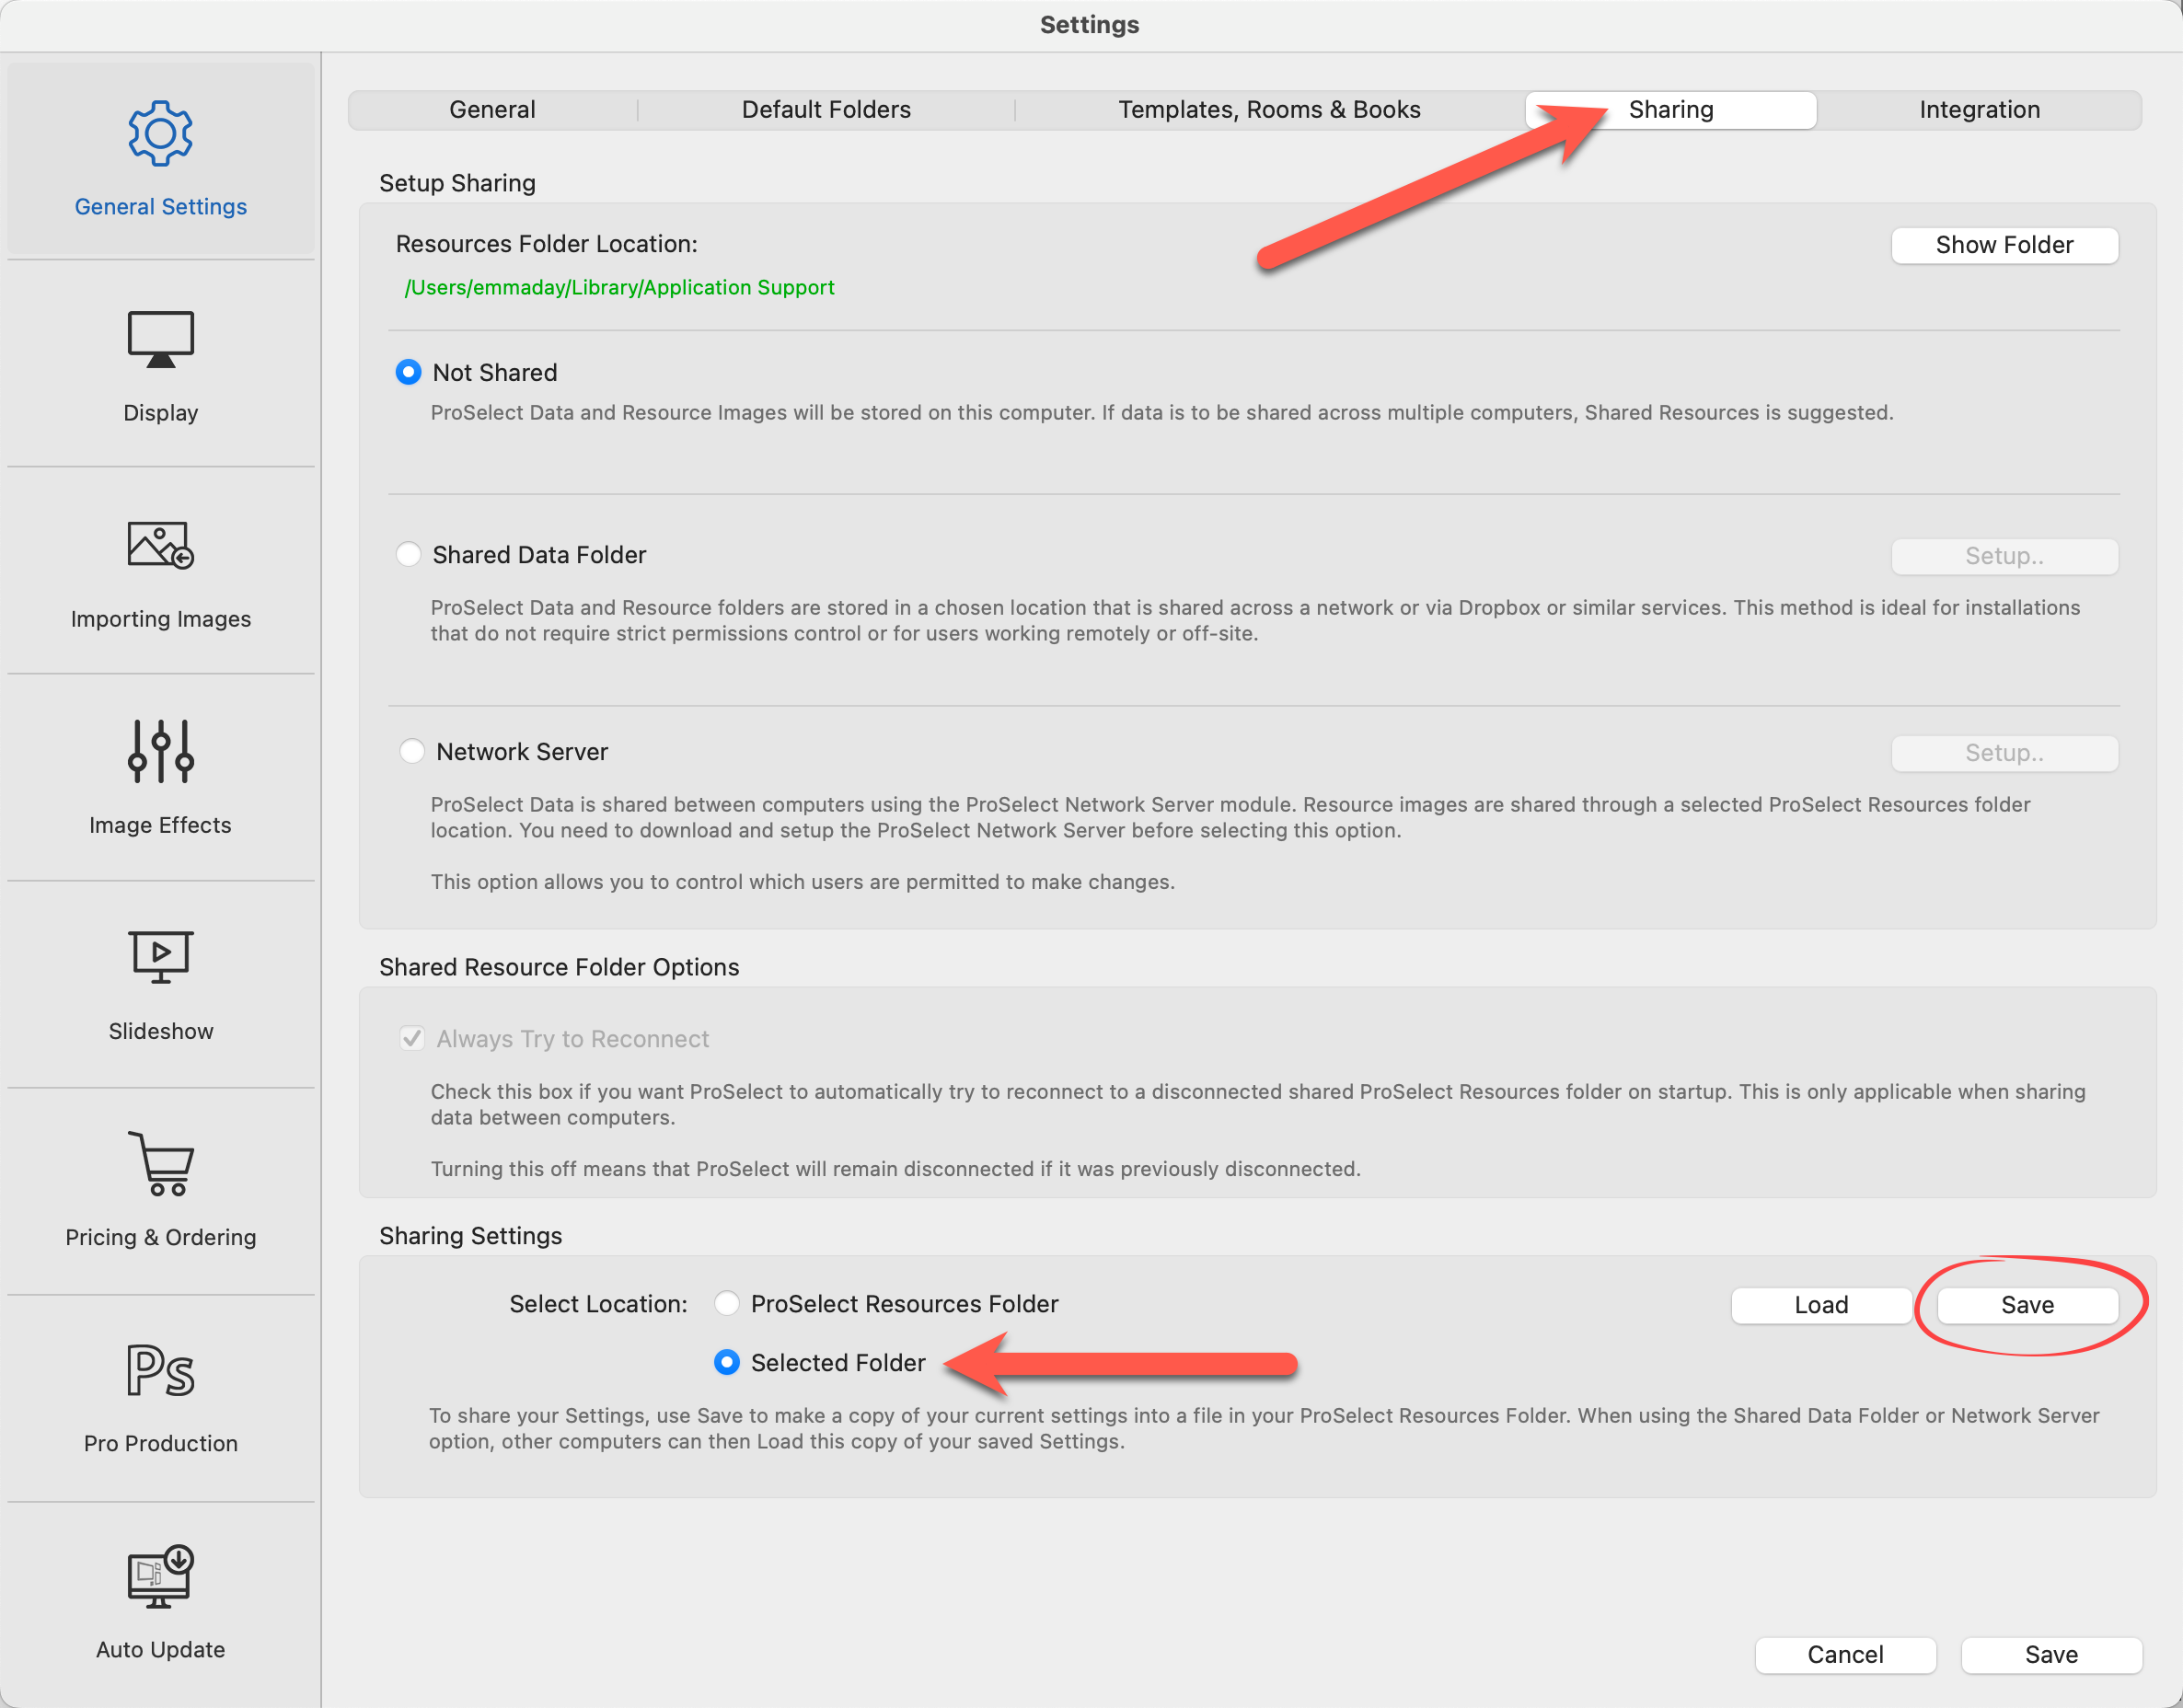
- You can now save your Settings into the same ProSelect Transfer folder with your Data File and Resource Folder.
Step 4: Transfer to Another Computer
- There are many ways to accomplish this including using Dropbox, Cloud Services, or an external drive.
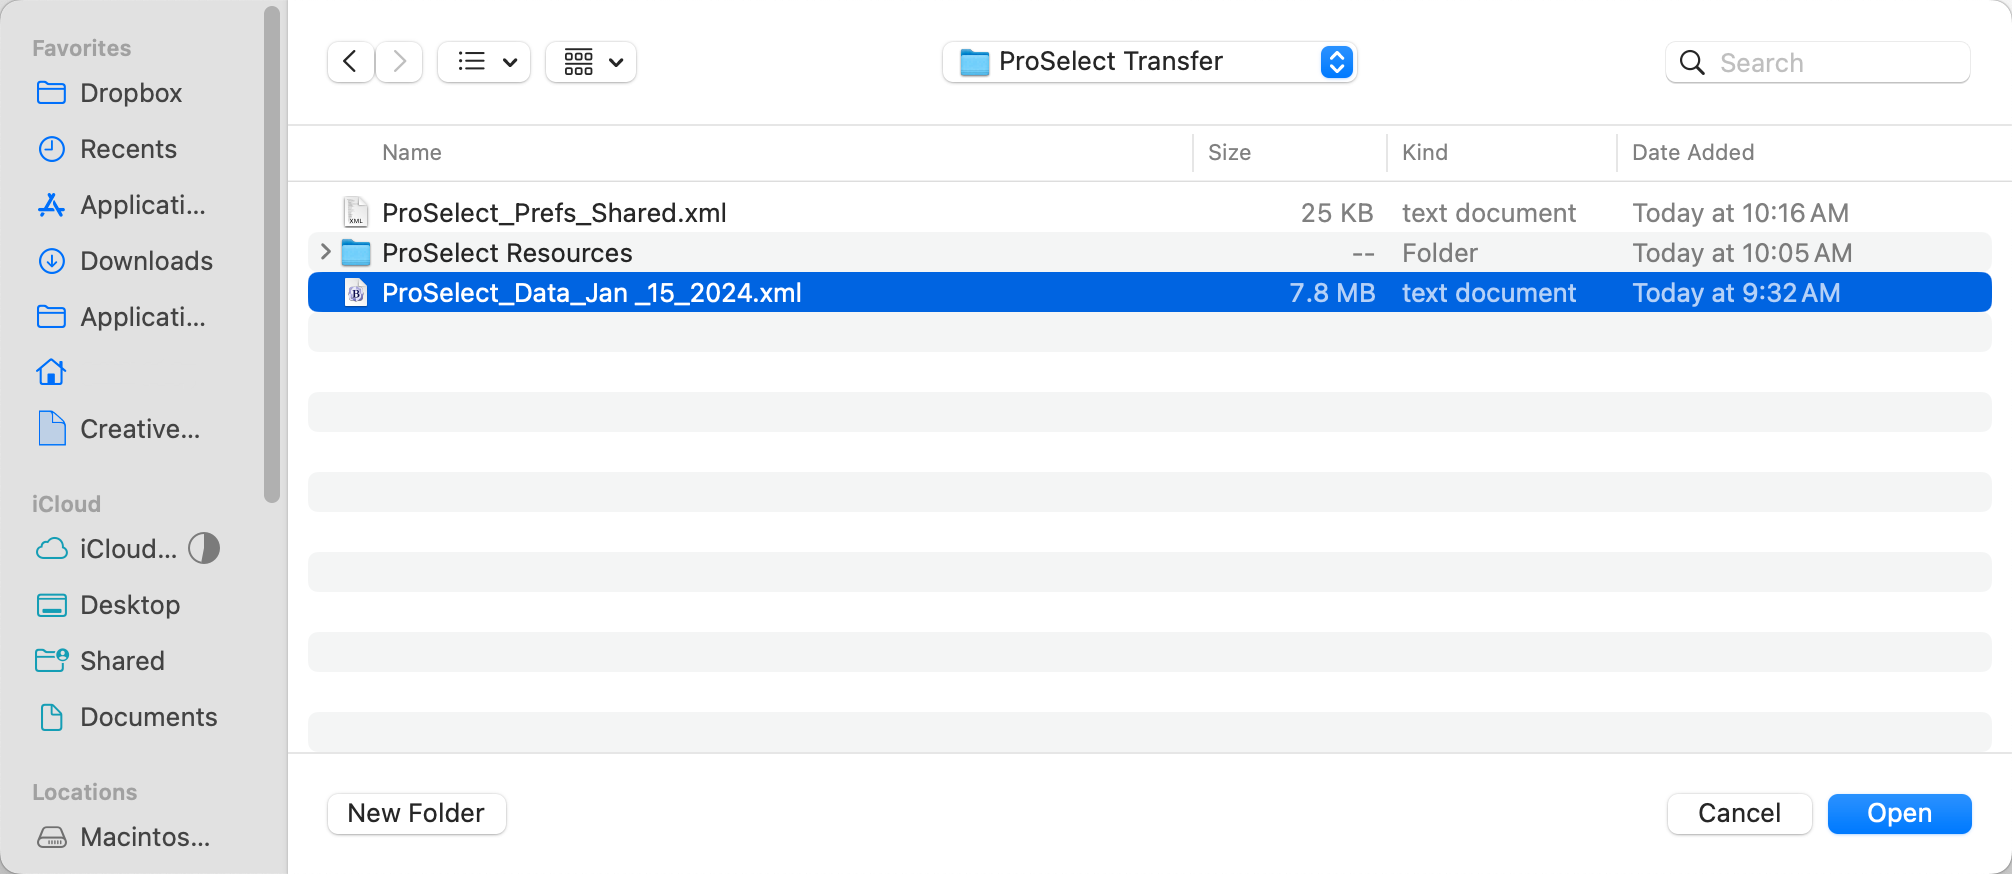
Step 5: Import the ProSelect Data File on the New Computer
- Open ProSelect.
- Go to the top menu, File > ProSelect Data > Import Data from.
- Navigate to the folder you just transferred.
- Click on the ProSelect Data File and select Open.
- The data file has been transferred and is now being used on the new computer.
Step 6: Move the Resource Folder onto the New Computer
- In ProSelect, go to the top menu, Resources > ProSelect Resources Folder > Show in FinderExplorer.
- Rename the current Resource Folder to "Archive_ProSelect Resources." This will serve as a backup.
- Open the transfer folder.
- Drag the ProSelect Resources folder from the transfer folder into its new location on the new computer.
- This new ProSelect Resources folder will now be used on the new computer.
- Important note: Do not rename the new folder. It must be called "ProSelect Resources" for the software to work.
Step 7: Load the Settings
- In ProSelect, go to the top menu, ProSelectEdit > Settings.
- Under General Settings, select the "Sharing" tab.
- In the Sharing Settings area, select "Selected Folder" and click on the Load button.
- Navigate to the transfer folder.
- Click on ProSelect_Prefs_Shared.xml.
- Then click Open.
- Your Settings have been imported.
Your new computer is now set up with the same data file, resource folder, and settings as your main computer.
Important Note - Making Changes
It should be noted that each computer is independent of the other. If changes are made to the data file, resource folder, or settings AFTER the transfer, these changes will not be shared.